|
This is one of my long term projects........ to build
a bowed psaltry, an instrument that has always intrigued me. This
became possible when I found
Eric Meier's site
on building one.
As this site is pretty comprehensive in terms of building the instrument, I decided to put links through to it, and add in my own solutions to some of the problems I encountered whilst building. Hopefully it will encourage others to build, and help to solve some of the problems along the way. |
|||
|
|
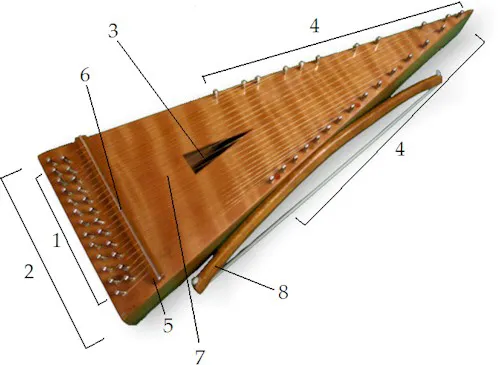
1. Tuning Pins: harp pins, available online
2. Pinblock: walnut, left over from a harp project (sides as well) 3. Soundhole: I made mine heart shaped, because..... 4. Hitch Pins: as above 5. Bridge: 6. Saddle: 7. Soundboard: I used spruce left over from a mandolin top. 8. Bow: shorter than a violin bow, about ??mm long. |
||
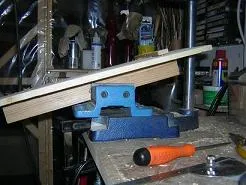
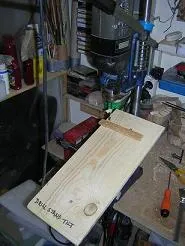
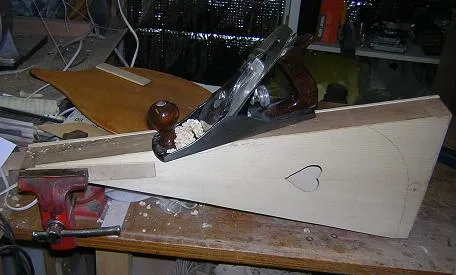
| 1. The first thing I made was the frame, end and two sides, but to do this I needed to work out a way of cutting the tightly mitred top end. The | 5. With the body complete, the next issue was drilling the holes. The side holes for the hitch pins was simple with a drill press, but mine does not have a tilting bed, so I was forced to make a simple one to allow me to tilt the body securely whilst drilling angled holes for the tuning pins. | ||
|
|
||
|
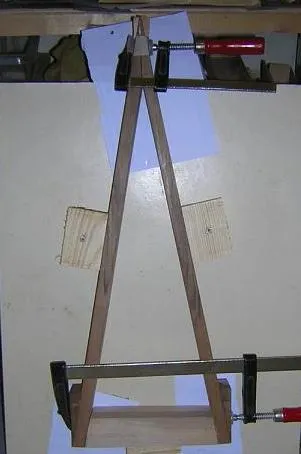
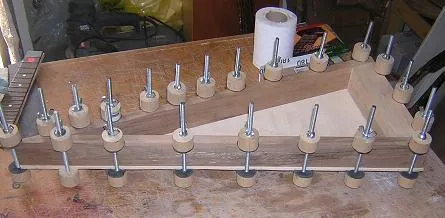
2. Once the sides and end were cut and matched up, I
felt I needed some sort of jig to hold everything under pressure
whilst the glue set.. This was the low-tech solution I came up
with, as initially I only thought about building the one.
I used wedges on the sides to 'flatten' the side profiles to take the clamps. |
|
6. The only problem I had varnishing, was how to hang it whilst the varnish dried. I ended up with a long flexible wire hook in the soundhole.... though even then I had to varnish in stages, as it was impossible to varnish all over in one go, as there was no way to hold it at the same time. | |
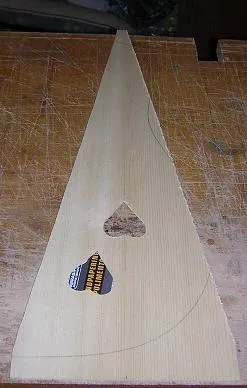
| 3. The next issue was with the top. Most guitar tops are less than 20" long, and as the psaltery was going to be 23", I came up a bit short of length in the tone wood. The solution could only be snall additions at either end to make up the length, but they certainly don't look out of place or even notice much. |
|
The groove in the top of the hitch pins I thought was going to be an issue, but the suggestions on Eric's site about how to do it worked perfectly..... | |
|
|||
| 4. For some reason the maple backwood that I intended to use was longer than the topwood, so I was able to fit a single piece back with no problem. |
|
For the bridge I used a crft knife and 2 chisels. Using a steel rule I scored a line along the top of the bridge wood. The using a V chisel, I gouged a small trench along the scored line. Using a small half round chisel, I then widened and deepened this until it snuggly fit the brass rod. Much easier I think than trying to saw a long line for a piece of fret wire. | |
|
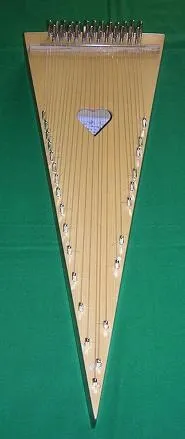
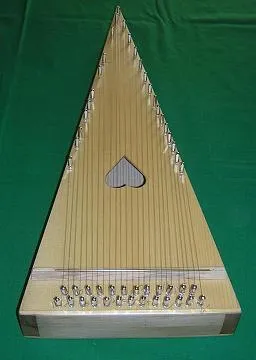
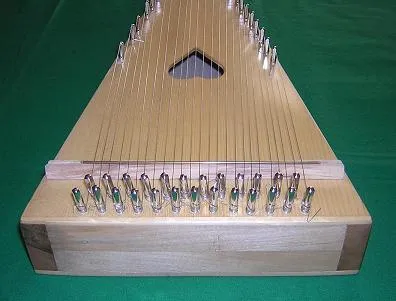
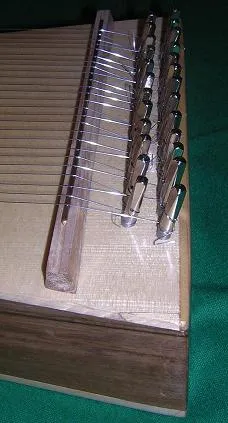
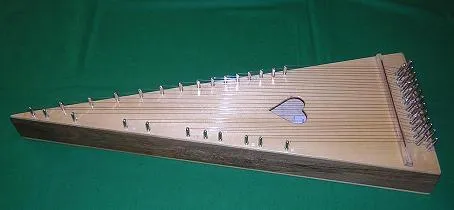
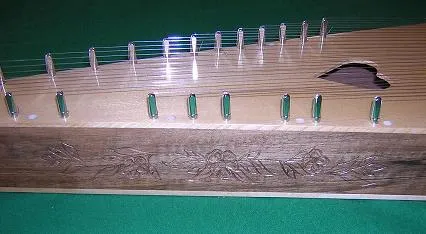
Here is the finished article........ not flashy, but it sounds excellent. |
|||
|
|
|
|
|
|
||

