|
The pillar and arm, are glued to each other. The foot of the pillar is pinned through the base of the harp with a long screw, but otherwise the arm and pillar are free. Only the string pressure keeps everything in place. |
|
 |
I started by
tracing sections of the pattern for each piece, sticking it to the wood
with a Pritt stick. The locations for the tuners and bridge pins were
transfered to the tracing as well.
I discovered that there was a slight error in the plans, and there was not really enough space for them below the upper strings. They are in now, but overlap the edge annoyingly. I've made allowance with the second, and moved the position of the post holes up a little at the treble end. This has worked for the treble end, but those in the centre need still more space. |
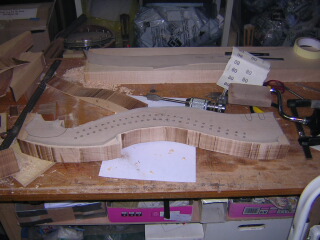 |
The first thing I did, was to drill out (by hand) large holes where the tight curves were marked on the plan. This had the double advantage of allowing the cutter to cut in sections, and also get the curves right, using different diameter drill bits. Most of the rest was cut using a simple two-wheel band saw, fairly close to the line. |
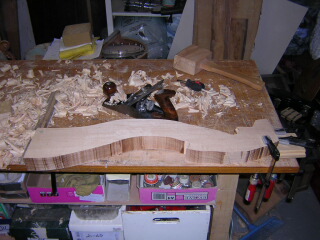 |
Here I am final thicknessing the arm. I decided to do this after cutting the rough shape, so I would not have so much wood to shift in hand-planing. No thickness planers here I'm afraid. Almost everything is by hand. I have it clamped at one end, and butted up against a rail fixed to the table at the other. To keep the ends even, I just kept turning it around. |
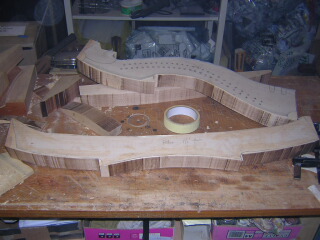 |
Using the same approach, traced pattern glued on.... rough cutting on the band-saw.... the pillar was then cut. Like the arm, it was thicknessed afterwards. |
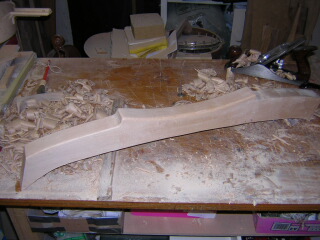 |
Here I am rounding edges, again by hand, with a heavy file and a pile of 80 grade sandpaper. At the same time I began sanding the whole piece. Other outer sharp corners were done as well. |
 |
The arm and pillar were attached with the aid of 2 dowel rods, inserted into pre-drilled holes in both. Plenty of epoxy resin should ensure that they stay together. It was necessary to leave it clamped up in the vice, with the pillar pointing directly upwards in order to get it to set in a good position. It was too awkward a size and shape to clamp up otherwise. |
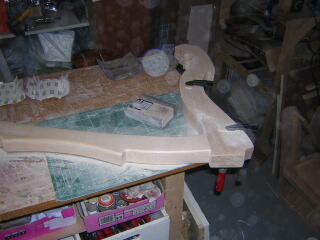 |
Sanding this piece was a little difficult, as it is quite large and ungainly. But it was possible, once I experimented with a variety of different clamping positions on and around the workbench. |
|
|
Finally the piece is ready for finishing, after sanding, I buff with something similar to net curtain material, to burnish the wood. |
