|
Once the pieces were cut, planed and sanded to some extent, I approached the problem of assembling them. When building mandolins, I use a form to hold the pieces together to achieve the correct orientation, at least to start with. In the plans there was nothing about this type of approach, so I was forced to fall back on clamps and elastic largely. |
||
 |
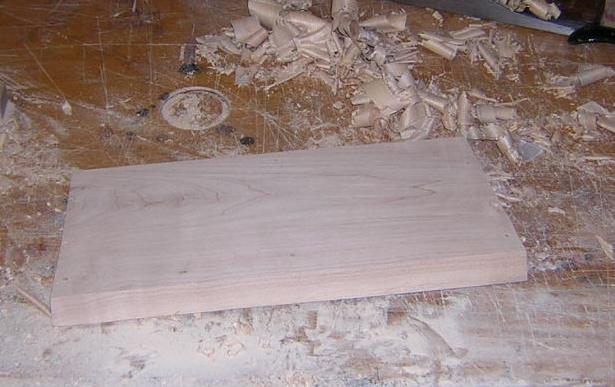
The top illustrates the problem with the whole harp.... a simple fairly small piece, but every side is angled, no corner is a right angle. Also, the top must be cut into as perfect a circle as possible. | |
 |
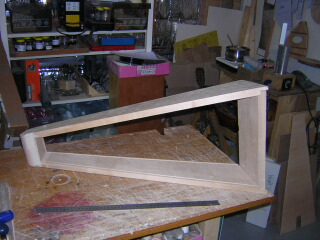
Here is the harp base, which exhibits the same problems. Without the angle guide it would have been impossible to cut with any accuracy. |
|
 |
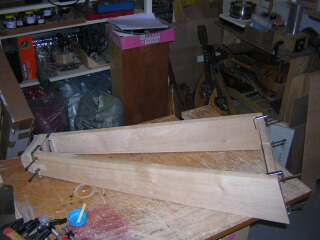
In the plan, part of the frame
is secured with screws, through the bottom, as well as glue. With the help of clamps and
elastic, it was possible to hold everything in position while the glue
set, not easy as no angles are square, and the clamps slip easily. Here is the box frame
assembled.... top bottom and 2 sides.
In the second harp, I decided to omit the 4 screws through the bottom. |
|
 |
As the delicately angled joins were not altogether
perfect, I decided that the whole structure would benefit from a little
interior re-enforcement. I glued a small strip into each corner.
|
|
 |
One of the most awkward parts of the
construction, was the fitting of the arm on top of the head. A concave
section at the end of the arm needed to fit over the convex top of the
head. Both had been carefully cut by hand, but even so, the match was
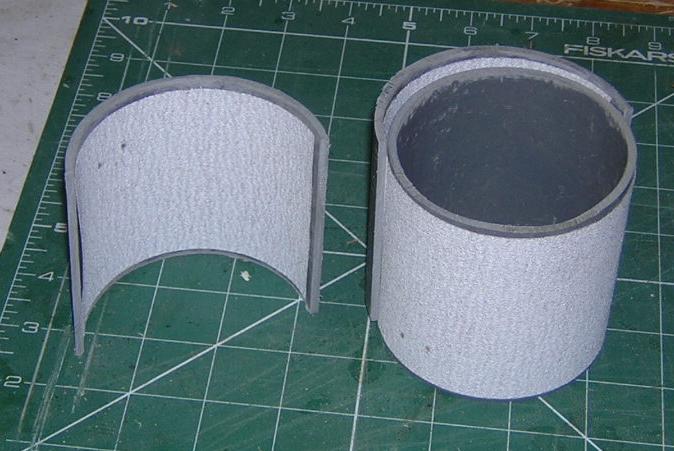
not altogether what I would have wished. After several abortive efforts to sand them 'together', I finally hit upon the idea of curved sanders. I found a piece of drain pipe that was exactly the radius that I needed. Helpfully, at the end of a section of drain, a pipe widens, so the next section can fit into it. I uses the wider end to fit the sandpaper inside, and the narrower end for outer paper. In this way, in theory, I could sand 2 matching curves. |
|
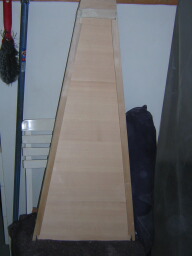 |
Trial fitting the front............ It slides from the
bottom, up into the slots routed in each side. As the slots are only
3-4mm deep, I did not want to over-cut it, so fitting took several
attempts, until it fit snugly.
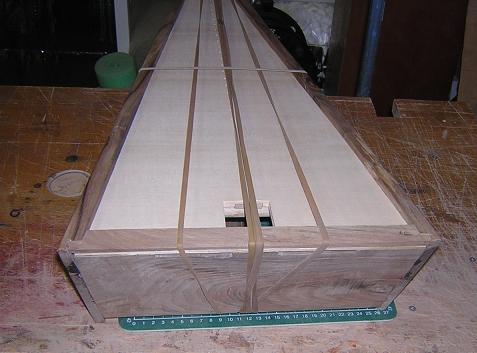
Once cut to fit, the front is glued on all sides and nailed to the base at the bottom, (in the second harp I screwed in down) and a strip fitted over the top to finish it off. |
 |
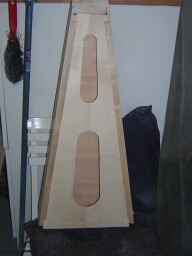 |
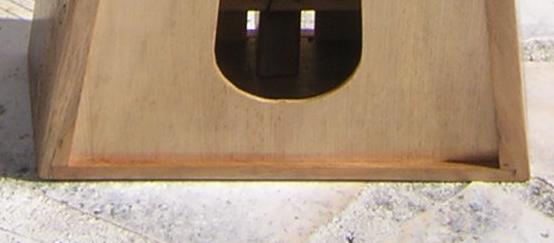
The back was the same, only slightly easier to manipulate on account of the holes. Once ready to glue in place finally, both front and back are pinned in place at the bottom. |
 |
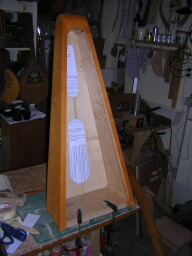 |
Once assembled, it remained only to stain
the wood. I used water based dyes, that wouldn't react with the Tru-oil
finish I intended to use. I did not stain the back or soundboard.
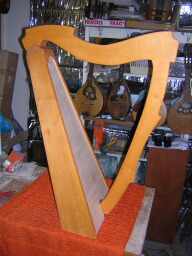
Once stained and assembled, it looked like a harp at last. The foot of the pillar is held in place by a screw from underneath, but the top arm, is held solely on the box top by string pressure. Thats the next bit...........
|
 |
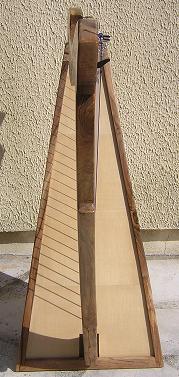 |
A particular problem, was the fitting of
the foot. The photos show that the arm is mounted at one side of the
head to allow the strings to descend centrally. The foot however is
located in the centre.
This means that the foot must be angled laterally, and front to back, so that it meets the base level. When the arm is not stable, as it only rests on the head by string pressure, this is a particularly difficult fit to make accurately, and required several 'slicings' off the foot until it was correct. |
 |