|
Method 1 |
|||
|
|
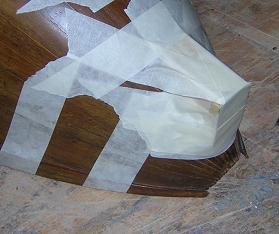
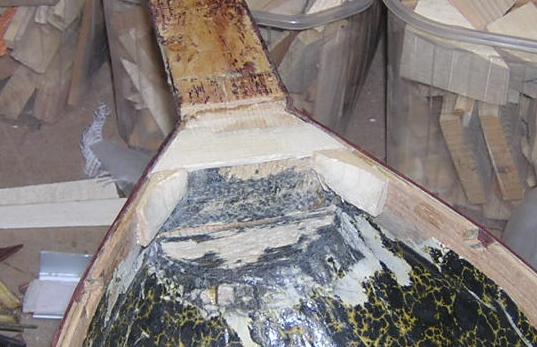
After removal of the top, the neck and heel are removed
using heat and/or steam if necessary. It will make a reset much
simpler if the top section of the heel can be removed leaving the bottom
section 'in situ'. Once removed it needs to be cleaned of old glue and
bits of the stringing that often come away with the heel.
Plane a few thin shims to place between the two sections of the heel, allowing varying angles for best fit. N.B. Read the whole page before you begin,. |
||
| The most difficult
element in a neck reset, is to calculate how much you need to tilt the
neck and head back or down. (red arrow) When viewed from the side, there are several planes/lines
on the mandolin. The most crucial is the line of the top, which, even
though it is not there, can be fairly accurately gauged by the line of
the side clasps.
There are a couple of things to remember before proceeding:
Assuming you have the lower half of the heel still in place, proceed as follows:
In the final analysis, there is some latitude when you align the neck, as any inconsistencies can be sanded out later, or in the worst cases, even shimmed. The worst thing to do is push the neck back too far, a very tall bridge could kill the top again.... always err on the side of caution! |
|||
In order to glue
up after determining the correct wedge size and angle, you will need
some simple jigs. I have used others, but these have evolved as the
easiest to make and use.
|
|||
|
|
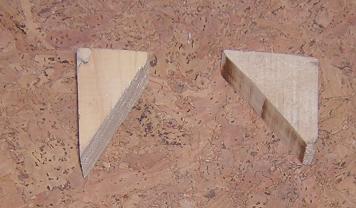
Side wedges to enable you to
apply press on the sides. Cut to fit the shape of the bowl, (they do
vary) and tape on.
I use one of these, with a wide groove chiselled in its long face to tape to the mandolin back, enabling down pressure to be applied to the heel. |
||
|
|
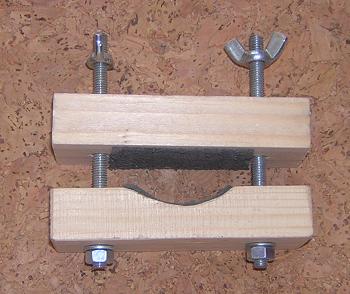
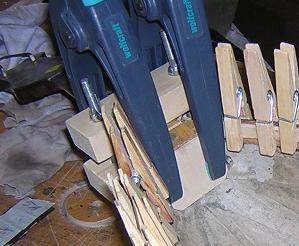
Neck clamp, also used to clamp
fret boards, provides a solid block against which the wedges can be
pushed so that they don't slip.
It also provides a flat surface against which to apply longitudinal pressure to the back of the heel. |
||
|
|
|
||
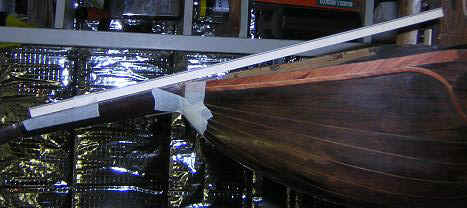
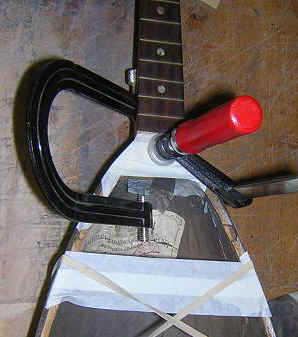
| Here I am using a straight length of edging wood to judge the new set up of the neck. For ease of use it is taped to the neck..... otherwise you need 4 hands!! | Here the heel was still in place, but the sides had been pushed out. I am re-gluing the heel sides, but it illustrates the set up for a complete heel reset. | ||
|
|
This is a small shaped caul I have found very useful.... it is in fact just a wedge, with the underside chiselled out to some extent, so that it sits snugly on the curved section of the bowl below the heel. I use it when re-setting a neck, and to put pressure on the top when regluing it to the bowl. |
||
|
Gluing Up Before final gluing up, make sure everything is double checked for fit, and all cauls and wedges are selected and to hand. A quick check list is as follows....
|
|||
|
|
|
|
 |
|
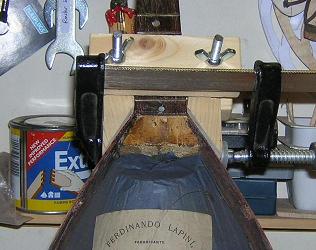
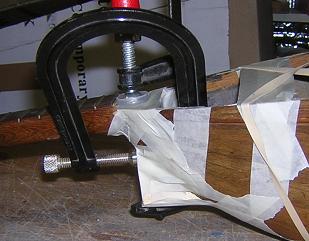
Here the heel is being reset with just a back wedge, but it is not as easy to get a good pressure without the neck clamp in place. |
Side view of the same set-up. The tape and elastic was to ensure the bowl stayed true. |
Here I am gluing in an end plate, to improve the structural integrity of the new heel set up, after the glue has set. | In this view, the small wedges are visible that I often use to strengthen the join between heel and linings, as this is often where structural collapse starts... |