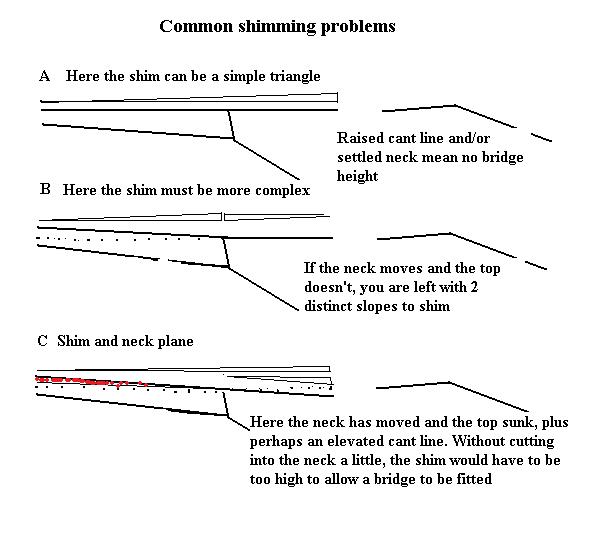
Home Mandolin Fingerboard Hospital


   There are a variety of problems that require the removal or adaption of the fingerboard. The commonest cause is settlement of the neck join or warping of the top, that causes a dip around fret 10. This makes a low playing action impossible, and the instrument is practically unplayable. The ideal height of strings above the frets is 2mm or less at fret 12. This common problem can be remedied  in several ways......

  • First, the re-levelling of the frets if the dip is only slight. 

  • Second it is possible to re-level the fingerboard, (after the removal of the frets) where the dip is not too pronounced, but cant be compensated for by levelling the frets. 

  • Third, the removal of the fingerboard and its re-gluing on a shim, thicker at the bridge end, and thinner at the head end. 

  • Fourth, the sanding down of the existing fingerboard (especially where it is very thin like many Italian bowlbacks), principally at the head end, after the removal of the frets, and its use as a shim when it is sanded down flat for the installation of a new fingerboard.

Relevelling Frets Making a New f/board Restoration Parts (frets)


Re-levelling the fingerboard

 
On this fingerboard, we have a dip which is too great to be levelled by dressing the frets. At the same time it is thick enough to allow some levelling and still have enough height for a bridge. To re-level the board, it is necessary to remove the frets. Afterwards, using a file or sanding block, work on the top end of the neck mainly, until it is levelled. Use a steel rule to check available bridge height. Once re-fretted, the lower top end of the fretboard should give you a better action, and more room for a bridge.


Fingerboard Removal

    Many problems with the neck and fingerboard (warping, bowing, damage and re-seating) can only be resolved after the removal of the fingerboard. When glued on with hide glue, removal is possible with the aid of a spatula, though I have found this is made much easier after warming the old glue.      I achieve this with a small old travel iron, both laid on the board and on the knife blade.
     After warming, the fingerboard is removed in one piece, leaving a sound neck ready  for the fitting of a shim.

I often leave the frets in, as I have found the board is often much weaker without them.

If I intend to replace them, or the fingerboard is thick enough, it is as easy to remove frets.


NB. I have omitted the cloth I usually use between neck and iron, for the sake of picture clarity.


Fitting a Shim
The reason for fitting a shim, is to raise the level of the board, particularly the bridge end, to give us a better bridge height. It is often the preferable alternative to completely re-setting the neck.... not easy on a bowl back. There are various problems that must be considered when doing this...............
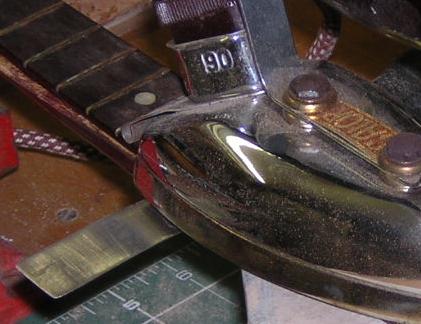
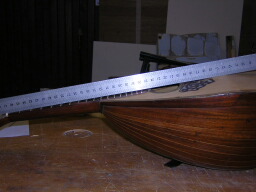
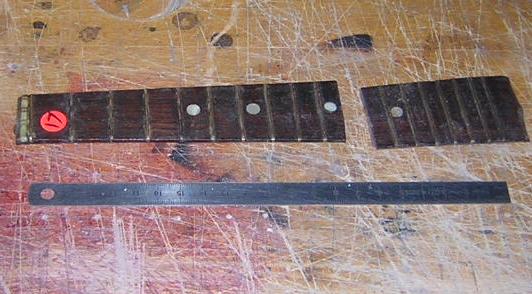
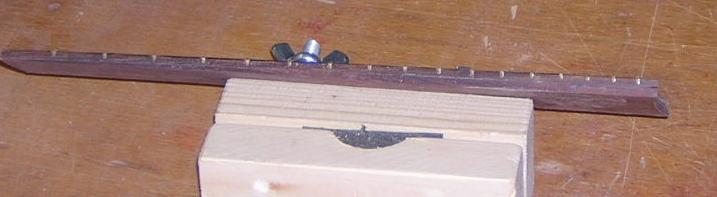
Here I have set up a steel rule, to demonstrate the method I use to check potential bridge height. Often the rule will rest on fret one and the bridge position, and not touch any other frets. You must have a space under the ruler to be able to fit a bridge.    
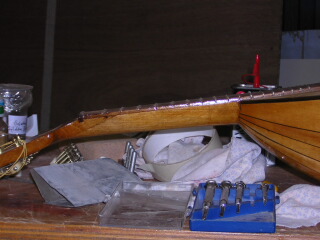
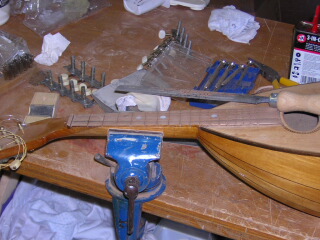
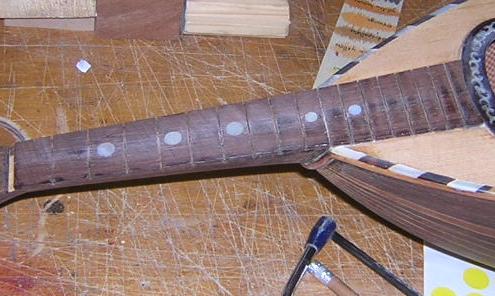
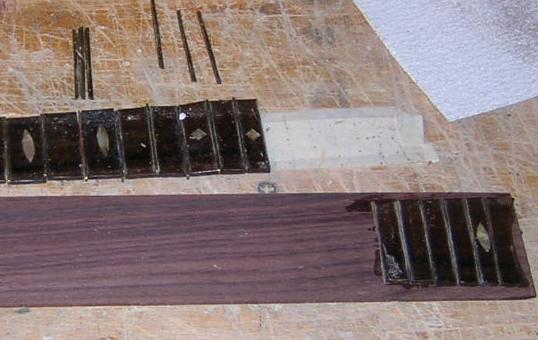
The first task is to remove the fingerboard, with as little damage to board and neck as possible. Here it has come away cleanly, but the old Italian bowls particularly, where fingerboards are often very thin, have a tendency to break into pieces or even crumble. Here an Italian fingerboard is being rebuilt piece by piece on to a piece of rosewood, which will later form the shim, after falling apart during removal. Sometimes this is inevitable, as the fret-slots on thin boards often cut right through the board.
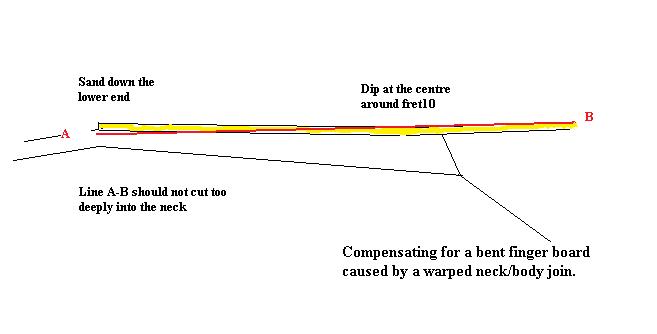
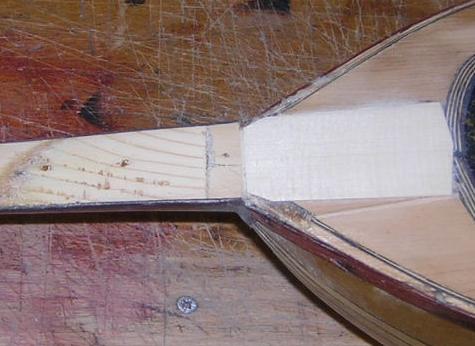
In order to bring the instrument back to playability, a 'shim' needs to be fitted beneath the fingerboard to even out any dip and raise the sound-hole end, allowing some room for the fitting of a bridge. Often both ends of the 'shim' will need to be carefully tapered before gluing. 
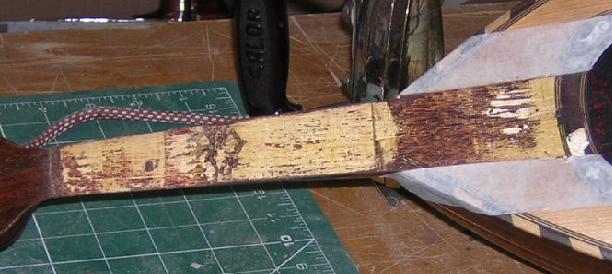
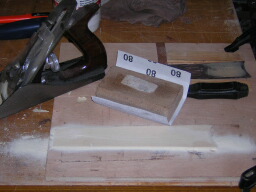
Another problem especially with Italian finger boards, is that they are often not of a uniform thickness. This one is about 3mm at the nut but only 2mm at fret 10.    
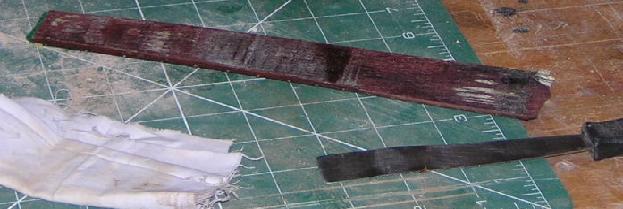
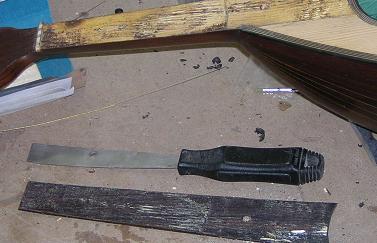
The material depends on that used to make the neck, here a mahogany 'shim' is being made to fit a mahogany neck, but I make from maple, ebony and rosewood.
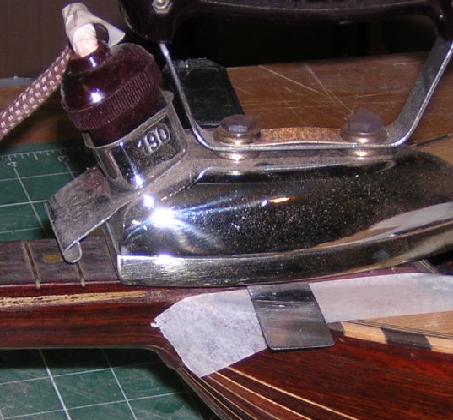
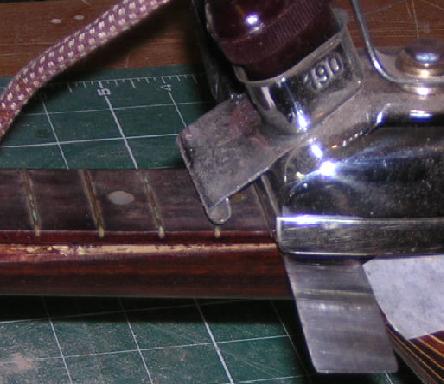
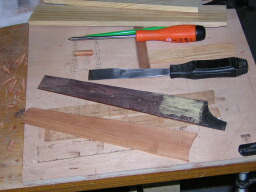
  I sometimes glue the 'shim' to the neck first, but more often to the fingerboard, especially if it is a simple triangle. That way it is possible to keep the fingerboard top flat and level. Here a rosewood 'shim' is being glued to a rosewood fingerboard, and the edges sanded level.


Here a half shim is glued to the mandolin first, and brought to a level surface afterwards, by sanding.     
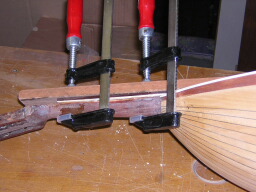
When the fingerboard and/or 'shim' are finally glued back into position, they are clamped to a straight edge to keep everything level. The presence of the 'shim' will help the neck maintain its position on the laminate principle.
NB. It doesn't make any difference if you glue the shim to the fingerboard or the mandolin, once the fingerboard is re-glued it is very likely that you will have to either level the frets, or even re-level the board. This is especially the case with Italian instruments, as I am led to suppose that they were glued in place first, and then levelled, thus evening out any inconsistencies in the neck mounting. Fret slots would then be cut and frets fitted. This would explain why there are often cuts in the neck when the f/b is removed, and why the f/b is often not of a uniform thickness.


Using the fingerboard as a shim

   Another solution to the problem, especially where the fingerboard is very thin, and is unlikely to come off in one piece, is to use it as a shim. 

   After the removal of frets, a steel rule is laid along the top fingerboard on the higher frets, so that after fret 10, it overlaps the side of the board towards the nut. This way it is possible to check how far the nut end will need to be sanded down to make it flat. You cannot afford to sand too far into the neck, as it will weaken it too much.

   On the left, I have just started sanding down the top of the fretboard. On the right the sanding is complete. It has removed all of the thickness of the board across the first two frets, and most of the third, but not cut too deeply into the neck, the cuts made to take the frets are still visible.

Once the old fretboard has been levelled, check with a steel rule, both sides and the centre of the neck, a new fingerboard can be fitted.

If there is not enough depth at the top of the f/b top allow this solution, it may be possible to reduce the height of both the top and bottom of the board to achieve a level surface, using the old f/b as the shim. When the new fingerboard is constructed, it can itself be tapered at the head end, to raise the action at the bridge end. Much better than adding an extremely thick board which would likely ruin the look of the instrument.

Once the new board is fitted, it may well be necessary to fill the old fret-slot ends, which will probably be still visible in the shim. A little rosewood or ebony dust, (collected from the fingerboard sanding!!) mixed with a little glue, usually does a good job.