|
Removing the top of a mandolin |
|||
|
For many of the repairs to the top of a mandolin, and some to the back as well, it is much easier with the top removed. This is usually a fairly simple procedure, especially if the top has partly lifted off already. Below is a step by step guide to top removal. |
|||
|
|
|
||
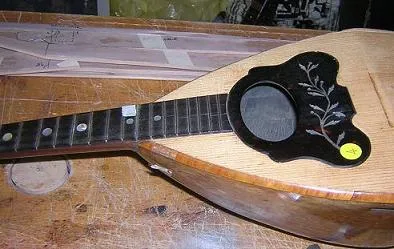
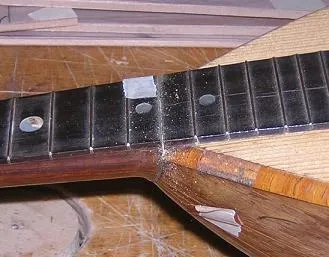
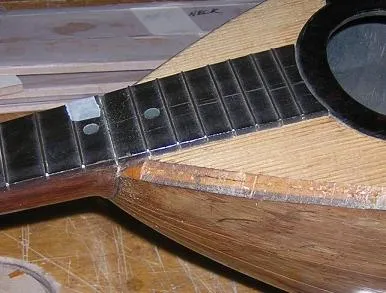
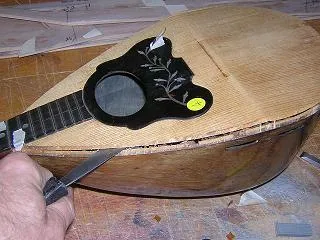
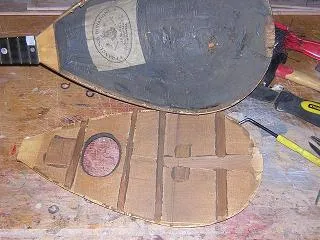
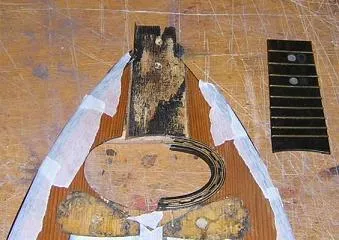
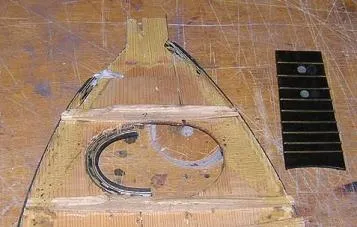
| A mandolin with damage to the interior struts, and a lack of good linings. The top must be removed to remedy these problems. | If the fingerboard is not to be taken off first, then it must be cut at fret 10, after removal of the 10th fret. Saw deep enough to cut the f/b AND the top, which often extends up under the f/b. | ||
|
|
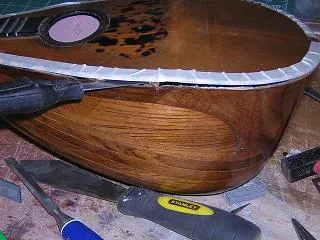
On this mandolin, the already damaged tulipwood edging must be removed before the top can be removed. It is usually not possible to get it off intact. |
|
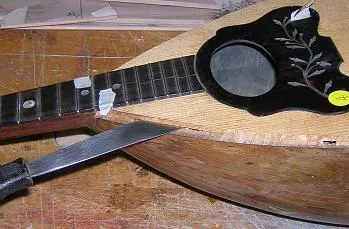
With the edging removed, work a scraper into any open seams and twist gently. |
|
|
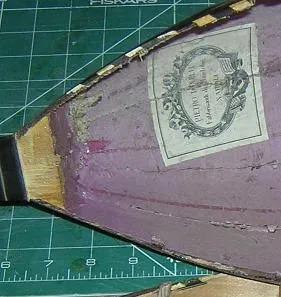
The hardest spots are under the struts. Insert the scraper under the strut and twist firmly. |
|
Here the top and back are separated, and work can begin on any repairs. |
|
|
|
||
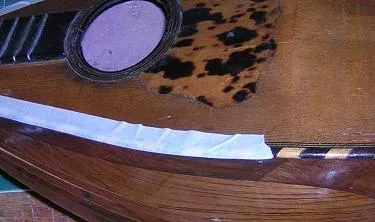
| With the more traditional lozenge edging, the edging should be taped up first. If you are lucky, it will come off intact, and pieces won't get lost or mixed up. | If there are no cracks, you will be forced to make some into the side seams. A particular problem is often the tail and heelblocks, which are often more strongly glued having greater surface areas than other glued points. | ||
|
|
|
||
|
After taping, the scraper is inserted into a crack,
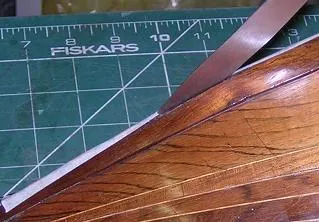
and removal procedes as above.
Work around the edges, making entry via cracks, and working towards any resistent sections, twisting the scraper gently as you go. |
Here part of the edging has come away cleanly, but
other sections have remain glued and broken. This is fairly
typical.
These can be remove afterwards, and re-glued to the main sections before re-gluing. |
||
|
|
If necessary, after removal of the top the
finger-board can removed later.
Here the taped edging has remained almost completely intact..... |
|
... and the same top from beneath. It is also possible to see small areas that have been 'cut through' when the edging was fitted. This may need remedying before re-fitting. |
