|
Repairing Wide Splits in the Table
|
|
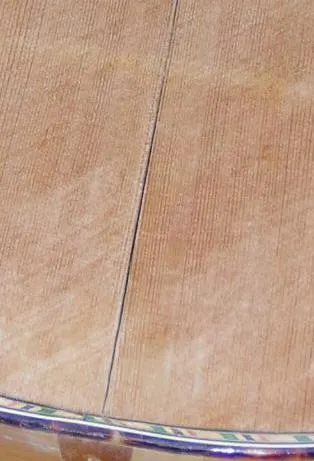
Another common problem, caused by shrinkage of the
braced top, is a split along the glue-line where the 2 halves of
the book-matched front were glued together. Usually the top is
still firmly attached to the struts beneath and cannot be forced
together again.
|
|
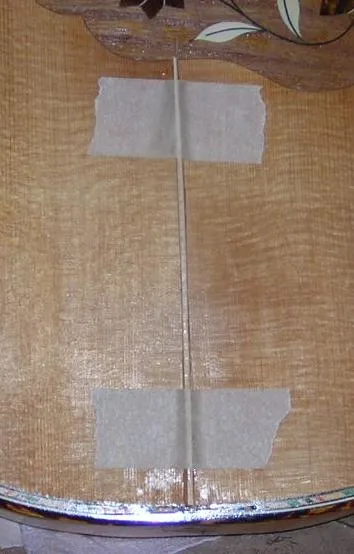
The solution is to insert a thin sliver of spruce
into the gap. Old wood is used where possible, and it is carefully
pared down to the exact shape of the split, before being glued in.
|
|
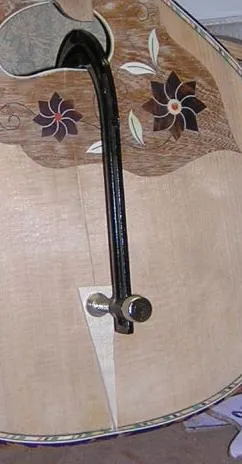
I try to make the fillet wedge-shaped, difficult when thin, so
that is gradually forced into the gap, which itself has slightly
angled sides. It is often necessary to use a clamp to keep the
pressure on while the glue sets.
|
|
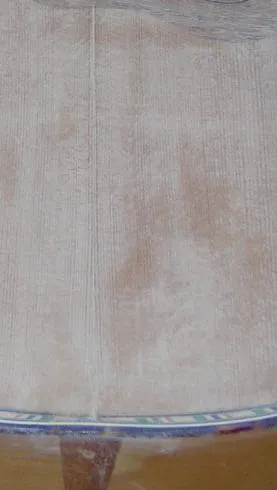
Once sanded, if done well, there is nothing to show that the
insert is there other than a slight colour variation, which in
time will even itself out as the 'new' wood darkens in the
daylight.
|
|
|
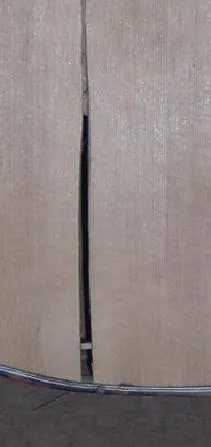
Here is another example, but in this one the crack is
not down the centre-line, which is just visible to the right. A
portion of the table has given way, in this case in 2 places, the
piece in between having been lost. A similar operation, but using
a much wider fillet.
|
|
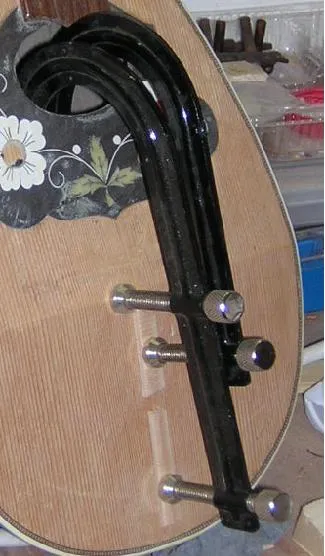
Another photo of a centre-line glue-up. I often glue
re-enforcers under the split, similar to the cauls visible in this
shot, to try and strengthen the weakened area.
|
| |
|
|
|


