Home Hospital Mandolin Removing Frets Spare Parts Fretting Home


   The process of removing frets can seem daunting if you have not done it before, but there are some simple tips that help enormously, not least, the fact that, old fret often come out easily, as the wood may have shrunk around them to some extent.

   Firstly, you only remove frets when the bending in the neck is too severe for this dip to be fixed by levelling the frets. If the dip is very slight, levelling the frets is the easiest option.  If by levelling you would reduce the fret height to almost nothing, then you need to remove and level the fingerboard.

   There are two types of frets you may have to deal with..... tanged and non-tanged (i.e. with and without teeth) which are designed to grip the edges of the fret-slot and hold the fret in place. The approach to the removal of both is the same, but toothed are a little trickier.

   If your old frets are badly worn, then you may need to re-fret with new frets, so conservation of the frets is less important, but guarding against ripping out is!!
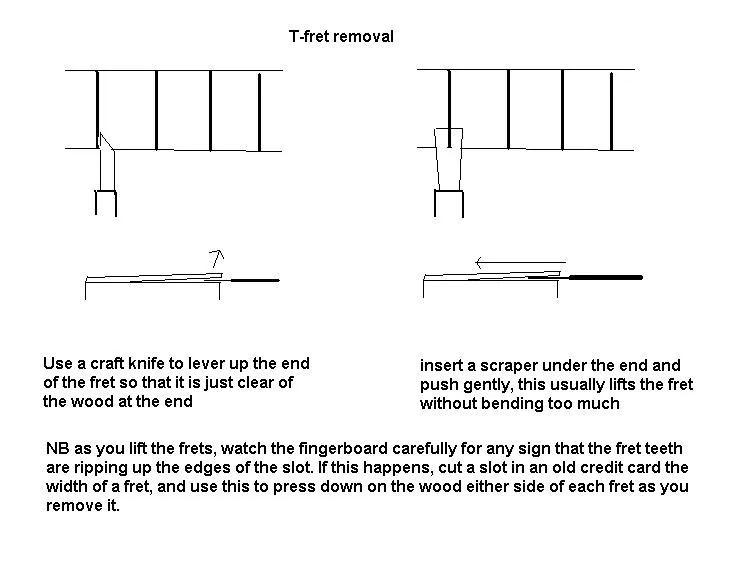
 

Bar frets

T frets
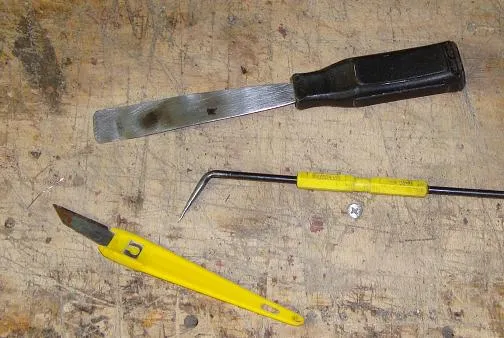
   These are my basic tools for fret removal. A sharp point which helps get in under the end of bar frets; a craft knife which does a similar job fro T-frets; and an old scraper to push under the fret.   T-frets tend to sit more tightly. Early brass one had very little or no teeth, but most DO so go carefully.

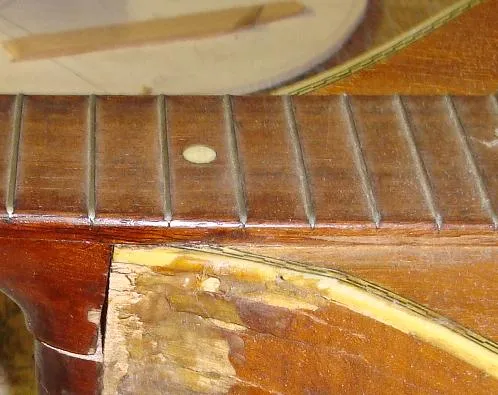
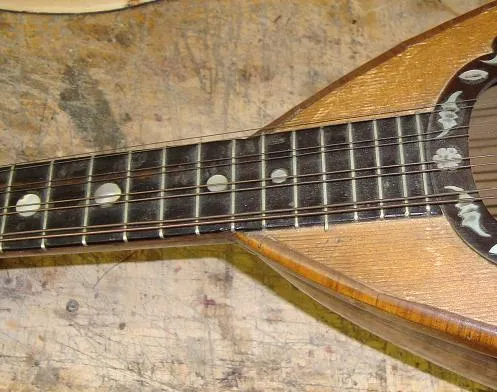
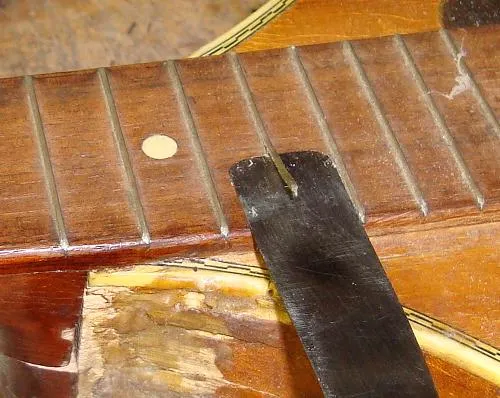
  As can be seen in this photo, bar frets often protrude out of the ends of the slot, as the wood has shrunk, which makes removal easy.   Insert the craft knife under the edge at one side and then the other, firmly turning the edge of the blade upwards. This may take several attempts....

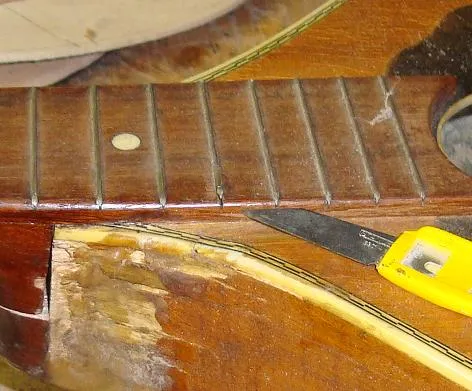
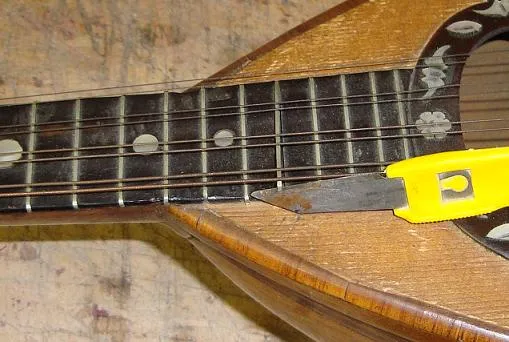
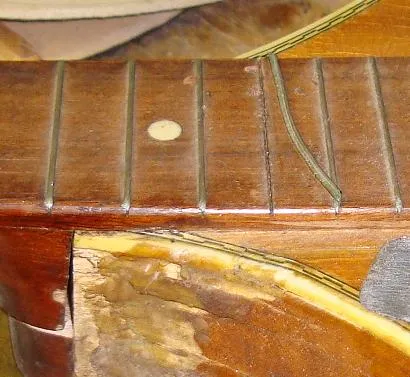
   Lifting with the craft knife, bar frets often come out practically straight.    Once the end is clear, you can slide the scraper in under the fret and push to lift it clear.


  Once removed, the fret may well be bent, but this can be straightened easily for refretting.