|
Preparation of the Wood |
|||
|
It is said that there three things essential to a good finish on a musical instrument............"Preparation, preparation, preparation." Starting with instruments whose finish is well beyond rescue, there are certain steps to go through before refinishing, though I have to say I have come across instruments where a 're-finish' was applied not only over the old battered finish, but also over the tuners, tailpiece and fingerboard!! Yeuk! What will I need? Typically you will need the following; sandpaper (anti-clogging type) 80, 120, 240, 320, 400, wet and dry paper; 600, 800, 1000, 1500; scraper; large piece of net curtain; cork sanding block; face mask; protective gloves. I have never used chemicals like paint strippers, so I cannot comment on their use. Also, using orbital sanders is possible but risky as it is all too easy to sand into the wood without realising it! |
|||
|
Removing the old finish
If you decide to remove an old distressed finish, you are essentially removing dirt, grease, and soot from cigarette smoke. On neapolitan mandolins you will be removing shellac from the body (non toxic) and from German and other mandolins, varnish from the body and top (toxic to varying degrees.) |
|||
|
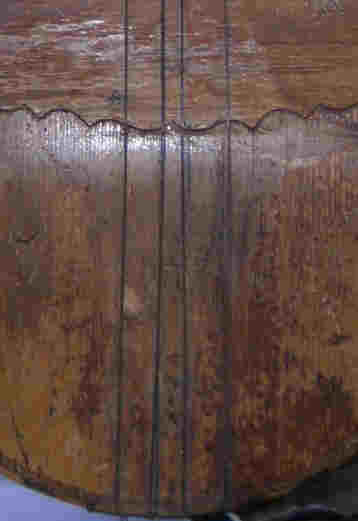
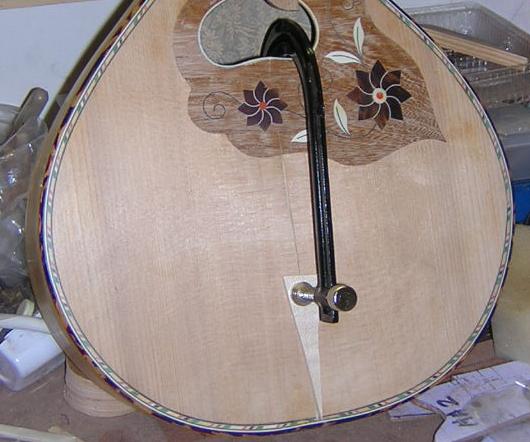
Step 1: A re-varnish involves scraping the old varnish off using a 'cabinet scraper'... a very sharp blade held vertically to the surface. Mine are a series of sharpened cheap craft knives. A mask is worn because of the noxious nature of some of these original substances. Here the varnish is stained cracked and in some places completely worn away leaving the wood dirty and greasy. |
 |
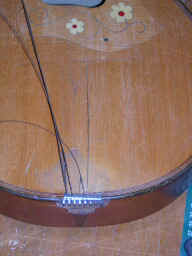
This is more typical; tired, scratched and
with a split that will necessitate some sanding, which will remove all
remaining varnish around the crack area.
You must assess the level of damage to the varnish and decide between a re-finish, and touching up. If possible, do this outside, it makes a mess, and some varnishes are toxic if inhaled. |
 |
|
Sanding and Polishing |
|||
|
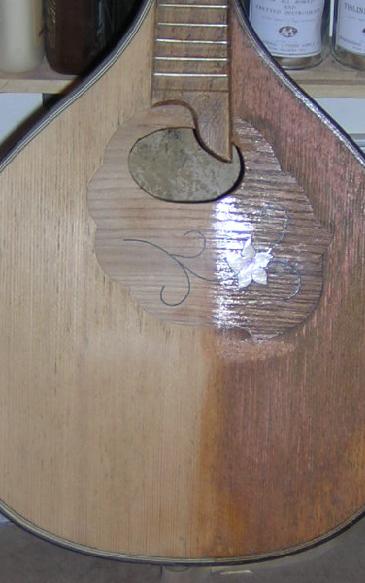
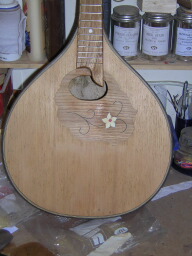
Step 2: Scrape Starting with a scraper, moving in the direction of the grain, I remove the old varnish. Here I have worked on only half of the top to illustrate the difference before and after cleaning and polishing. |
Step 3: Sand Once the old varnish is removed, I then sand the top with progressively finer sandpaper, starting with 120 and going up to 400 in large steps, again working along the grain. |
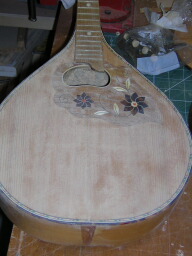
Step 4: Polish Once you get to 600 or 1200 grade, you are essentially polishing ready for the varnish. If I have cracks to repair, I leave the sanding and polishing until after the repair. | Step 5: Burnish Here, the original half done instrument has been finished. The final step is to use a stiff cloth to 'burnish' the wood. I tend to use stiff tapestry fabric, but lace curtain material will also do. |
 |
 |
 |
 |