|
In a mandolin, the bridge is one of the most crucial
pieces. It is the avenue by which the vibrations are transmitted
from the strings to the sound chamber. So it needs to be the
correct height, make good contact with the top,
stop the strings cleanly, and be made of something that
transmits the vibrations well. When they break, are ill
fitting, or replaced by something else, the mandolin performs much
less well.
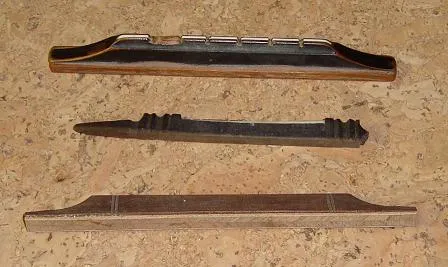
So what is to be done if we have a problem with the bridge? Well, there are various answers to that, mainly because there are various bridge types, and a variety of different problems. First of all there are essentially 2 bridge types; the simple or plain bridge (with in-built or even no saddle) and the shelf bridge (where any saddle sits on a small shelf). Secondly, there are problems specific to each, and others common to both. I will try and out-line these below. Note, I have not included the bluegrass style split bridge with height adjustment wheels here, as you don't see this on traditional mandolins. |
|||
|
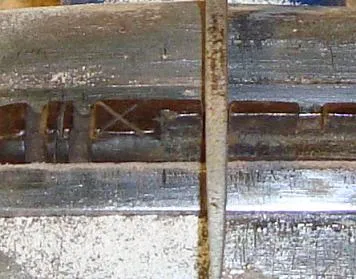
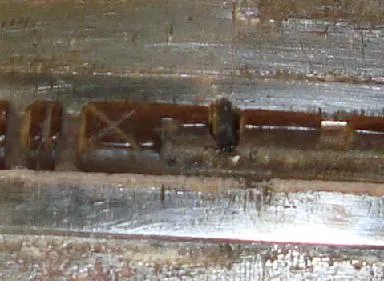
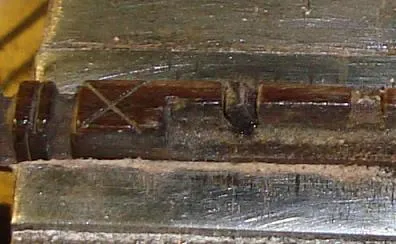
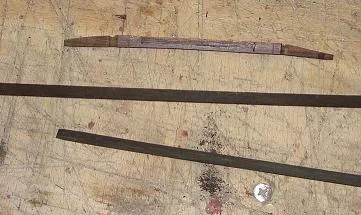
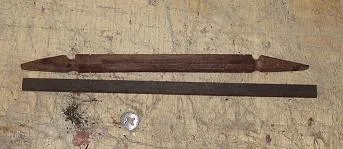
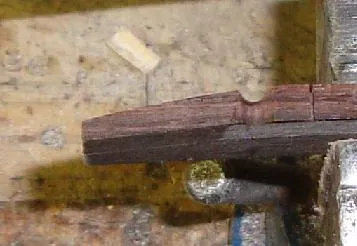
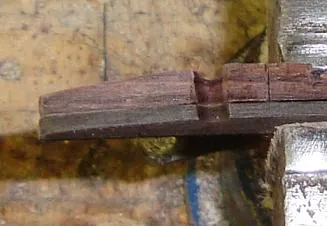
Shown here are some prevalent problems with old German and Italian traditional style mandolins.... some show one problem, others a combination. | ||
|
|
||
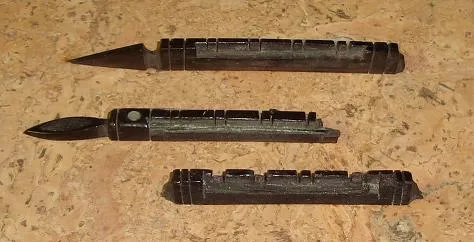
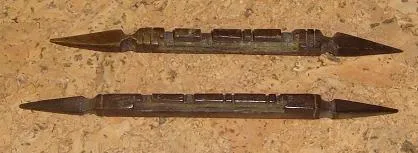
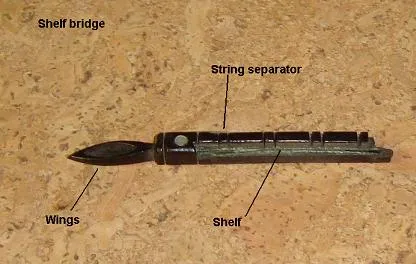
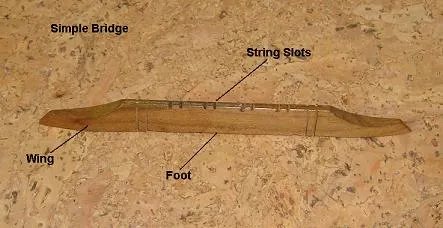
| Anatomy of a bridge | |||
| Shelf bridge | Simple Bridge | ||
|
(May come with inbuilt or top-mounted bone/plastic saddle) |
||
| Typical Problems | Typical Problems | ||
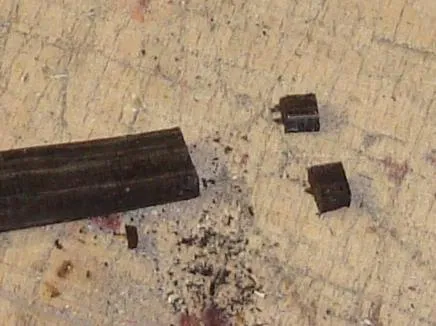
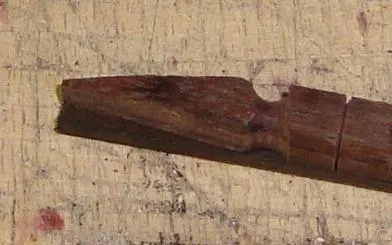
| Broken off wings | Its not really possible to glue wings back on even if you have the piece. They break where they are weakest so there is too little gluing surface. | Slots cut too deep | Once the slots are too deep, the easiest way to remedy this is to add additional material to the foot. |
| Broken string separators | Replacement bits can be glued in here using superglue, but they are there after weak. | ||
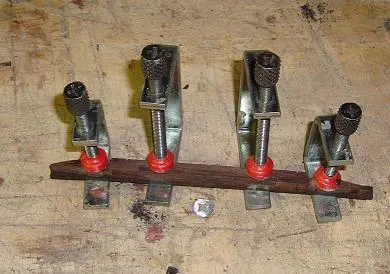
| Insufficient height | With a shelf bridge, you have 2 options. First increase the depth of the saddle, or second, add material to the foot. | Insufficient height | With a simple bridge, you have 1 option, add material to the foot. If it has a separate saddle material, it is sometimes possible to replace this. |
| Warped | When mandolin tops sink, the bridge often warps with the top under the string pressure.... once this happens it is not really feasible to restore the bridge to its former shape. | ||