Home | Hospital | Mandolin Bowl Repairs | Backs |
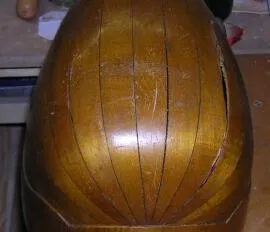
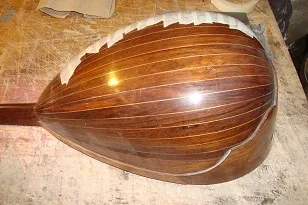
Repairing bowls; The problems with bowl back splits fall into three distinct categories. | |
|
|
Repairing a narrow split |
|||
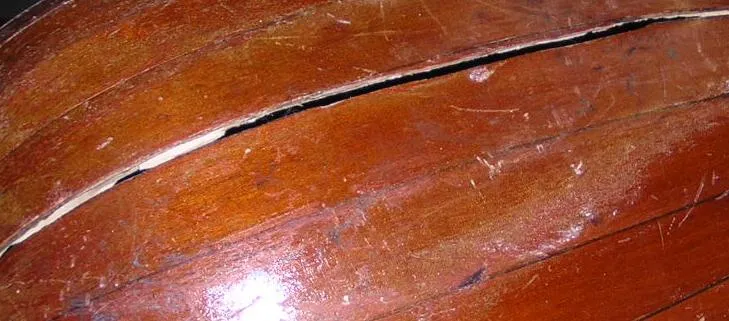
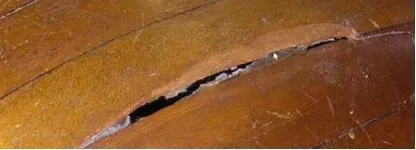
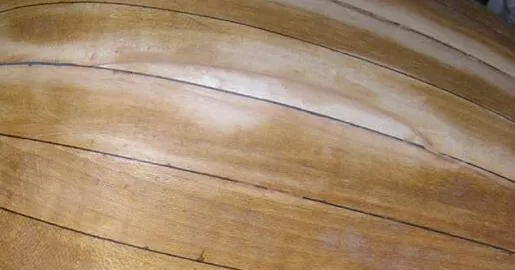
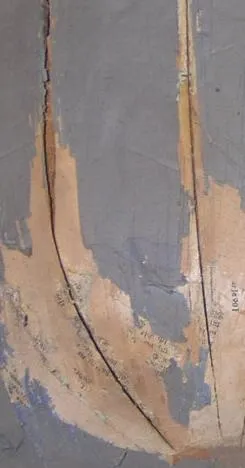
In the old bowl backs, splits the length of the back are common. They tend to be worst around the tail end, where the biggest bending has taken place. Often the glue has failed under stress, but also ribs part because of wood shrinkage. When it is possible to push the two sides together easily, it is a fairly simple matter to re-glue. | |||
Step by step crack repair: if the crack pushes together reasonably well... | |||
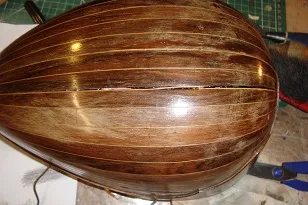
The method I use is illustrated here. I tend to proceed a seam at a time, starting with the least serious separations first. This seam is open all along its length but will push together.... | I spread a thin line of Titebond along the length of the crack, not too much as it will just be wasted.... | ||
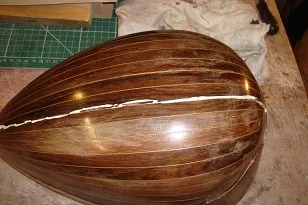
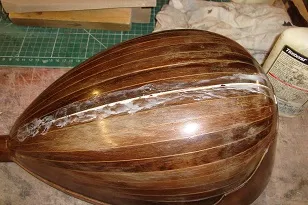
Work the glue carefully into the cracked seam by rubbing in a circular motion with your finger, this works excess glue down between the ribs... | Press together with finger pressure and wipe off excess glue with a damp cloth, damp but NOT dripping.... | ||
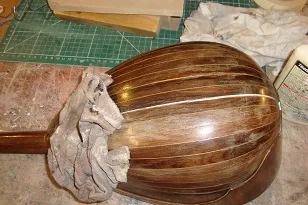
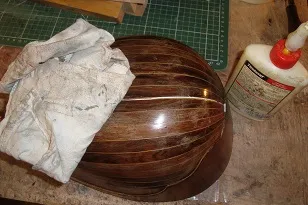
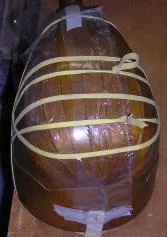
Next I use a dry cloth to dry the area either side of the split seam.... if you dont do this, the masking tape does not hold on the damp surface..... | Pull lengths of masking tape tightly across the seam whilst holding it together. As the glue is squeezed out by the pressure of the tape, wipe away a small section wide enough for the next piece of tape.... | ||
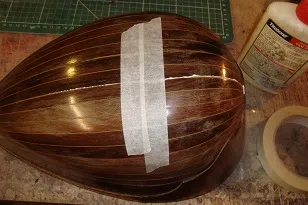
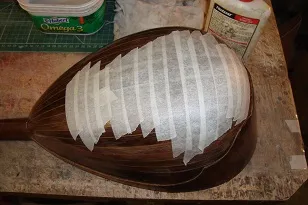
Here is the seam almost totally glued up.... and if any sections are difficult, and are tending to pull apart, just stretch more masking tape over the first in the affected area. | And here is the crack, repaired, and the repair is practically invisible!! The final step is then to add a fabric strip inside to re-enforce the repair.... |
Repairing a wide split | |||
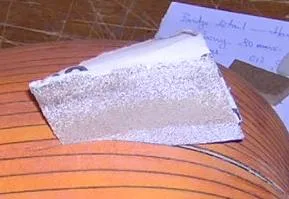
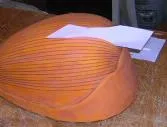
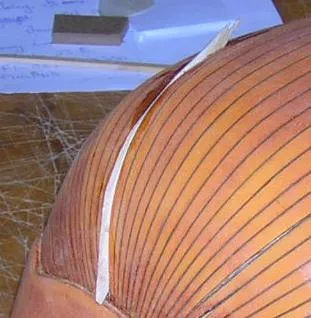
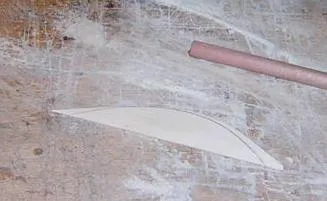
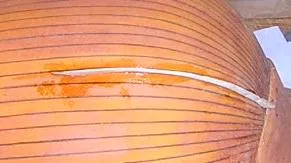
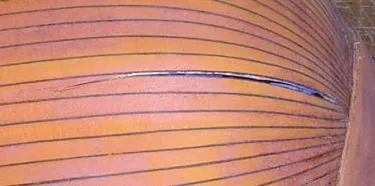
Here is the shrinkage split, far too wide to be able to close, stlli glued at either end, and partly into a rib. | First double over a piece of sandpaper and work carefully back and forth in the crack. | Insert a piece of paper, and mark the top of the crack profile with a pencil. | Cut away surplus paper, and glue profile to a piece of maple.... check it will be thick enough first. |
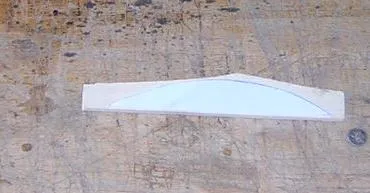
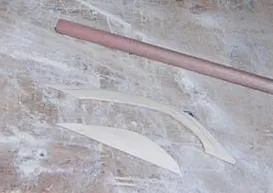
Clamp it in a vice and plane down to just outside the profile line. | Start to sand at either end to achieve a shape that fits the crack. I tend to over-sand the bottom to aid in trial fitting, which you need to do often. | Here is the trial final fitting. Mark the finished profile with a pencil on the wood. | The final profile is now visible. You can pare down any excess. |
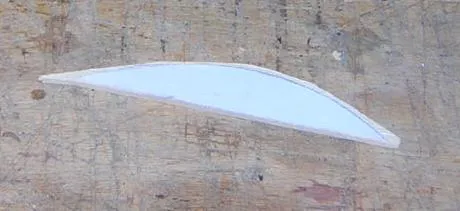
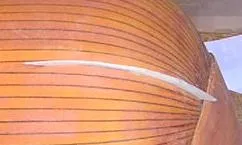
To avoid a large protrusion inside the mandolin bowl, cut away the inner profile, leaving sufficient thickness. | Final trial fit. | Work glue well into the crack before inserting the sliver. | Here the other much thinner cracks visible in the 7th photo are filled with a glue/ebony paste, to simulate stringing. |
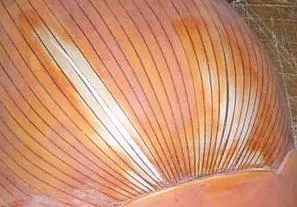
Once the glue has set, you can trim the insert down flush with a chisel. | Both wide and narrow cracks are now sanded smooth, and the back awaits retouching the dye. | ||
Repairing a wide split with damage | |||
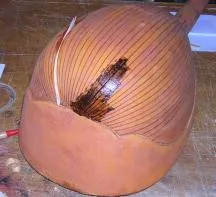
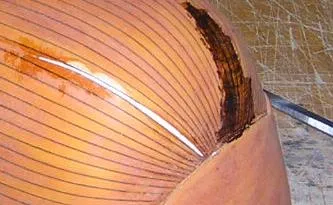
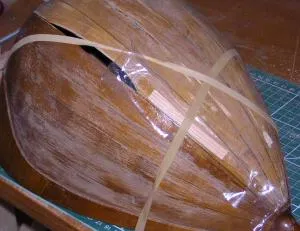
In this bowl, not only was the back split in several places, but a section of one of the splits had been sheared away. | This photo shows the worst of the damage. In this case the piece needed to be fitted flat, not vertically. | The other seams are glued up first, leaving the worst until last. In this way you ensure two solid sections before addressing the worst damage. | The parts of the crack that would fit back together were re-glued first. In this photo, the damage has been cut out, leaving a sound edge for gluing. |
NB. It is important to note that when the damage was cut out, it was done so at an angle into the rib, to facilitate gluing in a new piece. |
This photo shows the inserted piece, after it was carefully cut
out to fit, and bent to shape on a bending iron to the match the
curve of the back. Here it has been sanded after gluing. Any
slight mis-fit can be corrected after gluing with a little
maple/glue paste.
With it in place, the repair is almost not noticeable. As above, it will be stained to match the rest of the back before varnishing. |
Re-enforcement inside | |||
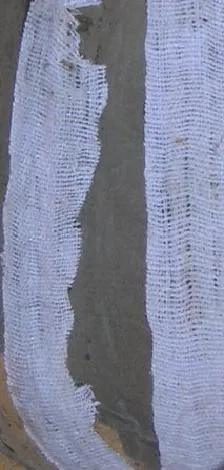
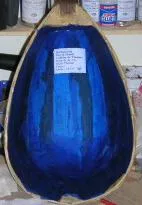
Here the inside of the bowl can be seen because the top is off. The cracks are clearly visible. | After cleaning up, and once glued from the outside, they can be re-enforced with cloth from the inside. | ||