|
Making a new fingerboard
This often becomes necessary if the old board disintegrates too badly during removal; or you use the old board as shim; or as sometimes happens, the old board is a poor replacement, does not fit the scale length, the frets are badly spaced, or it has lost part of fret 1 to make it fit the scale length better. (or any permutation of these!!) |
||
|
The first task when building a new board, is to work out the fret positions. DO NOT try and cut the slots excatly as the old ones were, it is very possible they are not accurate, and it is unlikely that you can 'transfer' them accurately enough assuming they are well placed. The best way to go, is to start from scratch. Scale Length: you must first decide what scale length you want. (Distance between nut and bridge) Leave enough room for a bridge itself to fit before the cant, plus 2-3mm in front of it for adjustment. (To achieve accurate tuning, the bridge often needs to be a little over the theoretical scale length.) Then, this point to nut....... is your scale length. The bridge should NEVER be behind the cant line. Fret Positions: the positions of the frets is worked out using a mathematical formula.
Now, it is difficult to measure fret positions from a point not fixed on the instrument, (the bridge...) it makes more sense to measure from a fixed point.... the nut. So.....
Example: Try this one and see if you agree with the figures, if yes, then you have it correctly.
|
||
|

|
|

|
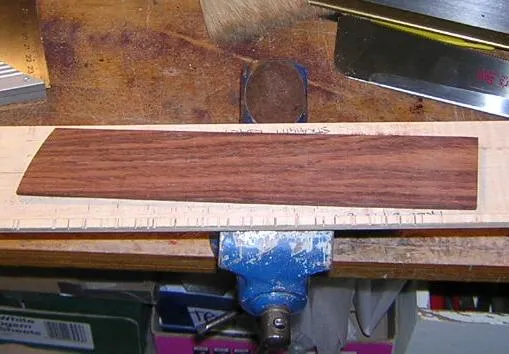
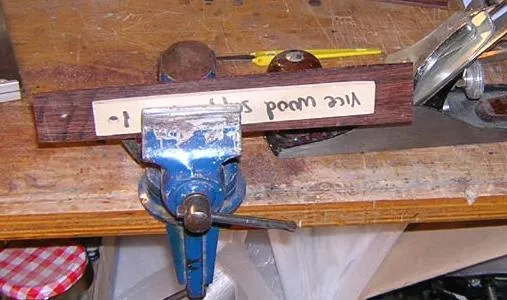
Start with a piece of ebony or rosewood, a little wider and longer
than necessary, and about 4mm thick. Draw a centre line, and line
up with f/b jig centre-line.
Clamp wood onto the jig. I often use double-sided tape beneath as well. Clamp the metal ruler to the blank f/b so that there are no accidental movements.
|
|
|
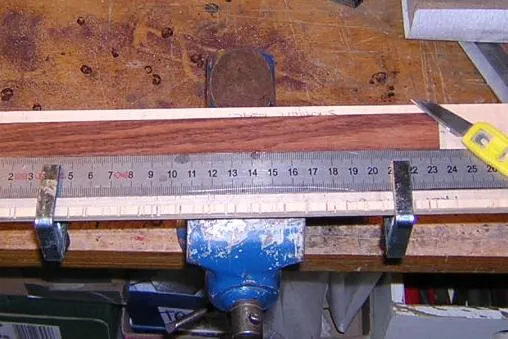
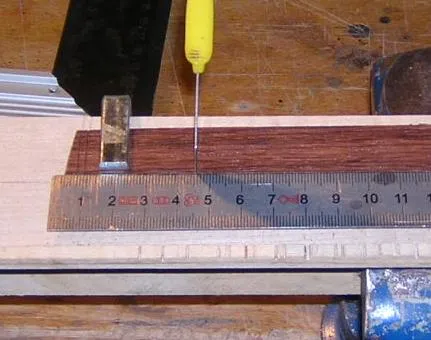
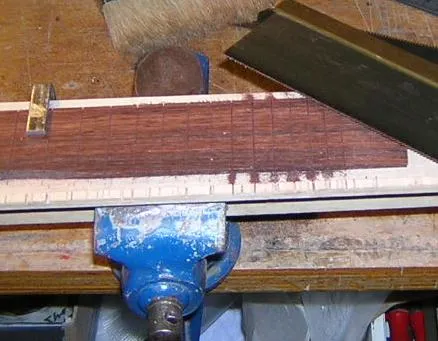
From the end of the board, or the zero fret, measure the position
of each fret very carefully, and mark with a knife/scalpel on the
centre-line.
After removing the rule, score with a knife right across the board. I use a set square along the straight edge of the jig, to keep these lines perpendicular to the centre-line. |
|
|
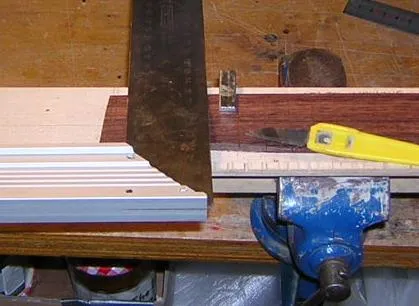
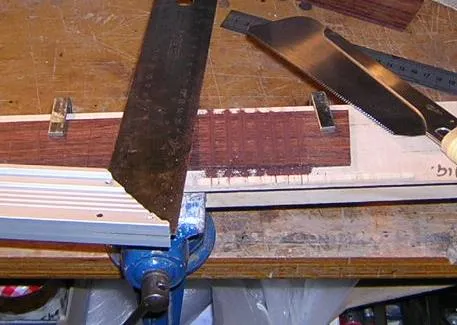
Once scored, I use a fine Japanese draw saw to cut each line,
again using the set square to keep the cut perpendicular.
Take great care not to cut too deeply, if in doubt, put a piece of masking tape along the saw edge about 2mm from the bottom of the teeth as a guide. Using the same technique, I then widen the cut with a fret-slot saw with adjustable height guide. |
|
|
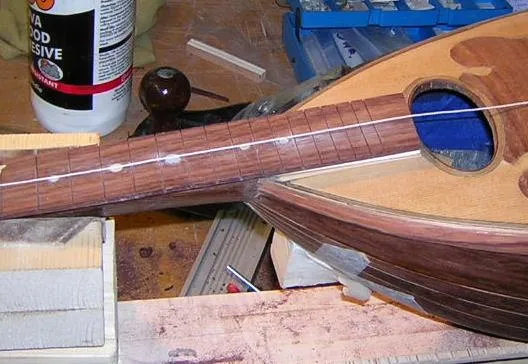
Having placed the finger board on the neck, carefully line up the
centre-line with the centre-line of the mandolin. Pencil where the
edges of the are underneath, and mark where the sound-hole end
should be cut.
Plane down the sides to just outside the mark, and cut the sound hole end. |
|
|
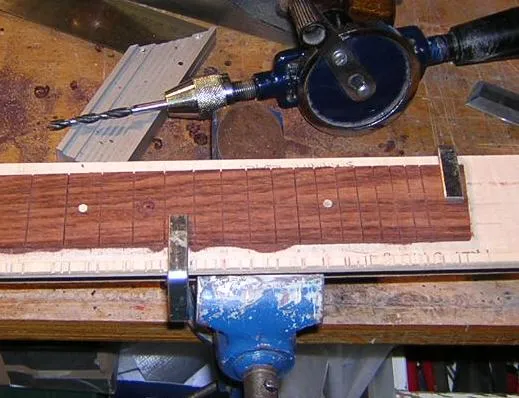
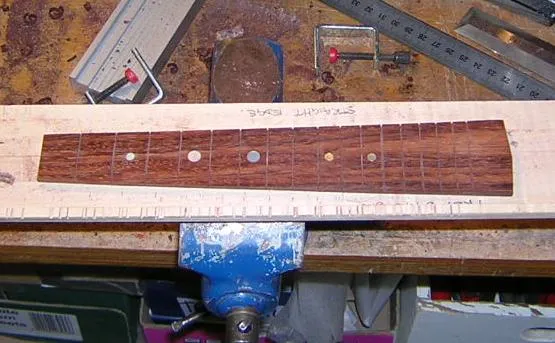
I usually fit the MOP position markers at this point.
They are variously at frets 3, 5, 7, 10, and 12, but occasionally
on concert models at 15 as well.
Frets can be fitted before or after the fitting of the f/board as required. I often do it afterwards which gives you a chance to level the f/b once glued before you add frets. Alternatively frets can be added first, especially if the f/b is extended across the sound hole, but they will undoubtedly need levelling afterwards. |
|