Home    Mandolin Neck    Construction

Neck  1: The neck is made from one piece of mahogany or sycamore, and fitted with a truss rod. It is fitted to the body using slots either side of the heel, which produces a strong join. Heads are laminated before fitting with tuners.

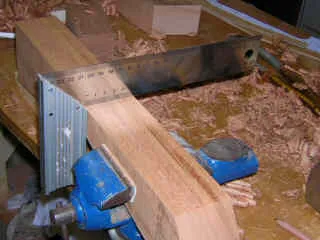
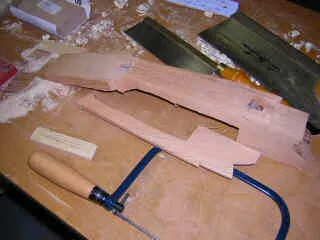
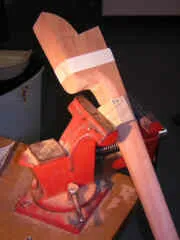
The neck is perhaps the most difficult part to make. Here checking it is perfectly level to receive the fingerboard. The shape of the neck is scribed on the side before cutting out. The truss-rod is fitted before side profiles are cut and the neck becomes too difficult to hold. Here the shape of the head is being formed, more complex because it is a single piece with the neck.
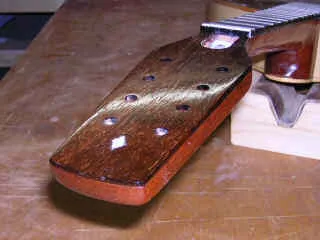
With the side profiles done, the rough shape is now cut and ready for filing and sanding to shape. Head veneer in rosewood is cut and glued. Neck slots are cut at a strategic angle to house the instruments ribs. The finish head.


Neck  2: this is the more traditional, and economical, in terms of wood wasted, method of constructing a neck head and heel assembly. I have started with a piece of an old mahogany front door, recuperated for luthiery, rather than with a pre-cut section from a luthier supplier, but essentially the process is the same after step 2.

Click on each picture to see a larger version...

01neck block.webp (187080 bytes) 02sawn block.webp (186974 bytes) 03neck section.webp (136871 bytes) 04head section.webp (209687 bytes)
...this is the section of mahogany, it is about 45mm thick, 70mm wide and 750mm long... being part of a door it has some inserts in the wood too... here I have cut the piece longways, to split it into 2 sections approximately 20 x 70 x 750mm. This is the form in which neck blocks often are sold.... so i now have two!! I choose a good section of the wood for the neck, a little longer than needed... next I choose a decent piece for the head section, and mark on where the angle changes, usually 16*. Here they can be seen in place....
05-16 degree cut.webp (184670 bytes) 06clamped cut.webp (206703 bytes) 07two sections.webp (184995 bytes) 08adding heel.webp (187786 bytes)
in order to get the same angle on both pieces of wood, turn the neck section over completely, by moving the heel end from right to left.. Here they have been clamped together to be sawn on the bandsaw... keep the off cuts. when you flip the neck section over again, you can see how they join to form the correct head angle.... the spare section can be sawn in to suitable sized pieces to form the heel.... here I use the template to select the lenght for each piece...
09heel pieces.webp (171990 bytes) 10thinning head.webp (199254 bytes) 11gluing up.webp (194152 bytes) heel re-enforce.webp (182831 bytes)
these are the pieces almost ready for gluing up..... before I glue up, I usually trim down the head to thickness, as its easier without the neck attached... ...and gluing up..... once glued up, I usually install dowel rods vertically down the heel to ensure it is well solid.... (two here covered by the top..)