|
Assembly Following fitting of the back, the neck is fitted along the centre-line, at a critical angle, upon which will depend the fitting of the finger-board and particularly the bridge. |
|||
|
|
|
|
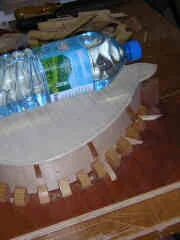
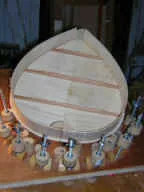
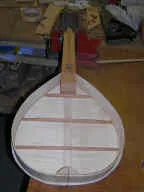
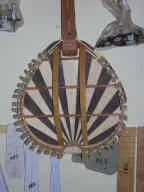
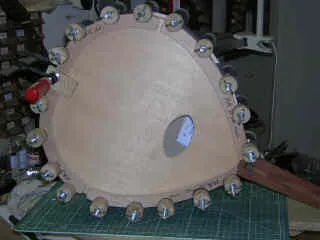
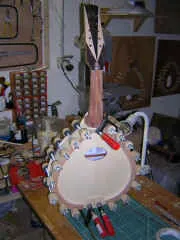
| The back is offered up to the clamped sides so that notches can be cut in the linings to exactly receive the back struts, which will be cut down just to fit. | Here the back has been glued to the sides, and then removed from the jig | The next step is to cut the ends of the ribs to take the neck, which has slots cut either side to receive them. | The neck angle is crucial, so this step is done with great care. Once correctly fitted it is glued in and clamped to set. |
|
|
|
|
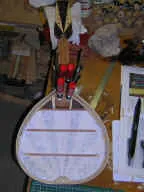
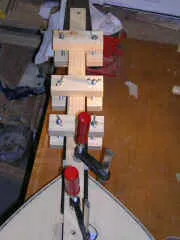
| Here two vertical struts are holding 2 small wedges in place whilst the glue dries. These wedges, either side of the neck foot, are to re-enforce the rib-neck joint. | The top is offered up in a similar way to the back, the struts trimmed, and slots cut in the linings. The top is then glued and clamped on to complete the body. | Another view showing the al-round cello clamps. Notice also the cauls used under the clamps, to spread the pressure of the clamps evenly. | Finally the finger-board is glued into place, but only after any purfling is done. |
| The assembly process, which may take as long as 3 months during which the components are made, is finally finished, and will then be followed by the finishing, another lengthy process, and the addition of furniture and strings. | |||