| I am constructing a new top for an old mandolin as a proto-type to work out the details of the process. The exact details will undoubtedly change during construction, but also will vary slightly depending on the exact configuration of the top. For example the edging may be the angled tulip wood edging of the de Meglio, or the MOP of the Stridente. The degree of inlay will also cause differences in technique, as will the nature of the scratchplate, recessed or not. But I will start with a broad outline and adapt as necessary. | ||
| Preparing the top.
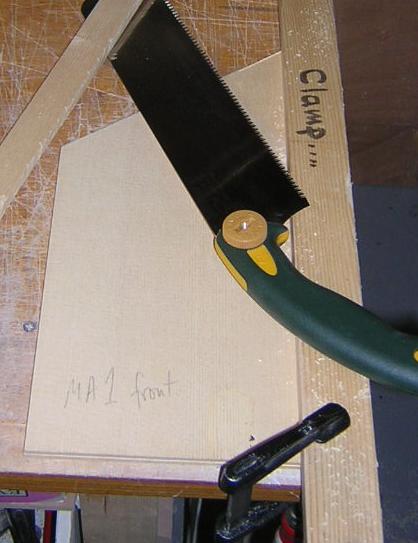
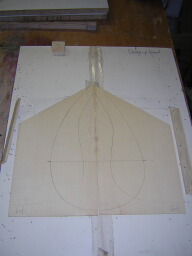
For this exercise, I have made a card template of the old top, carefully measuring and marking the positions of the struts and sound hole. I intend to utilise as much of the original instrument as possible on the reconstruction. The card top, when carefully fitted to the restored bowl, with the struts held in place by blu-tac, enabled me to calculate the extent of the cut-out needed for the tail join, which will be critical for the correct fitting of the top. |
||
|
|
|
 |
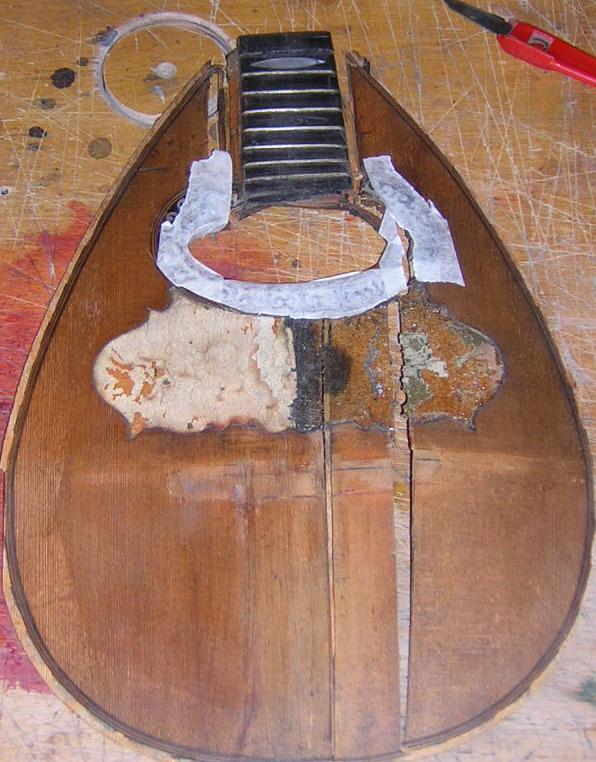
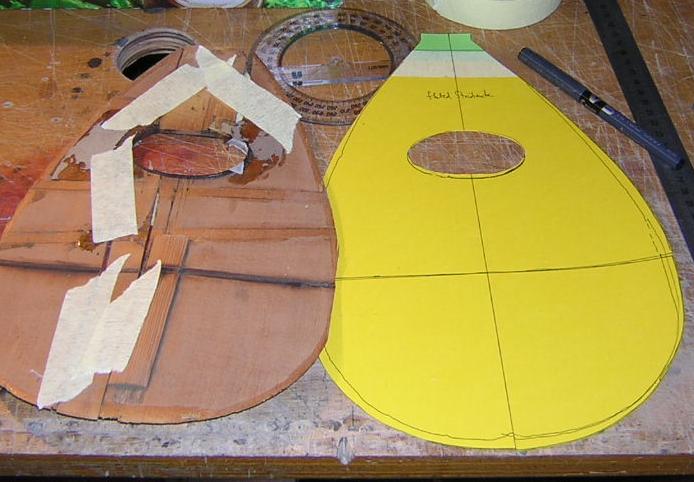
| Here is the original top, that illustrates why a new one is necessary. Not only is it split in several places and warped, but some bits are missing where previous attempts to re-glue have been made. | Here is the original held together with tape after everything has been removed. The card mock up double sits next to it, with outline, cant line, and position of 10th fret marked. | The two book-matched sides of the new top, planed to rough thickness, about 3.5mm. I believe two 'equal' sides are used to allow the builder to control differences in sound between the treble and base sides with more controllable variations in the tone bars. |
 |
 |
 |
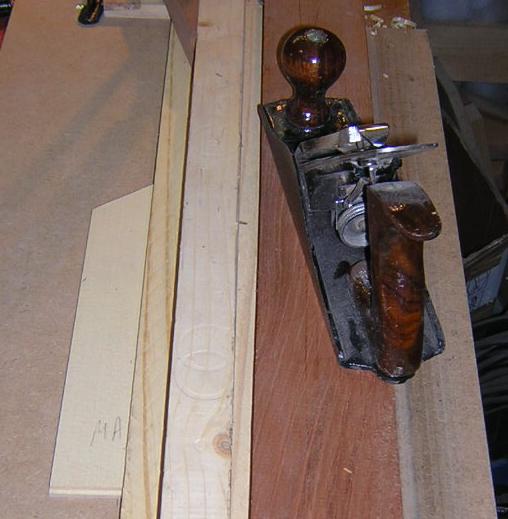
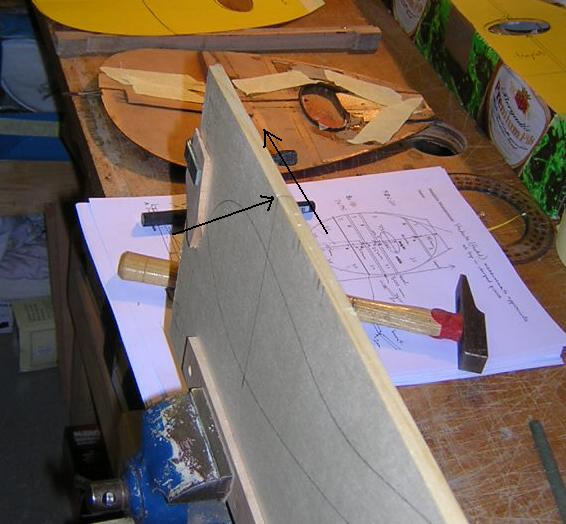
| The first step is to take both sides of your book-matched spruce top, and plain a straight centre line. Usually the closest grains are to the centre. | Next, because the top will have a lateral AND longitudinal curvature, you need to take a precise segment out of the tail, to allow the two halves to come together without overlapping when the braces are glued to the top. | The two halves are then glued together under pressure, but only ABOVE the cant line. I lay a stick down the centre, lay both pieces on this with glue on the centre edge, and nails stop either side moving outwards. When the centre stick is removed, the two sides are pressed down, and then pressure maintained with weights while the glue sets. |
| photo missing/lost | 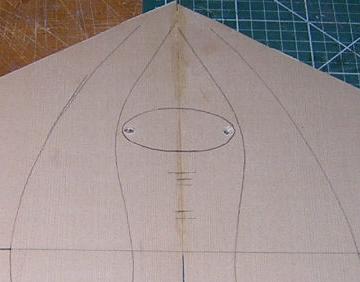 |
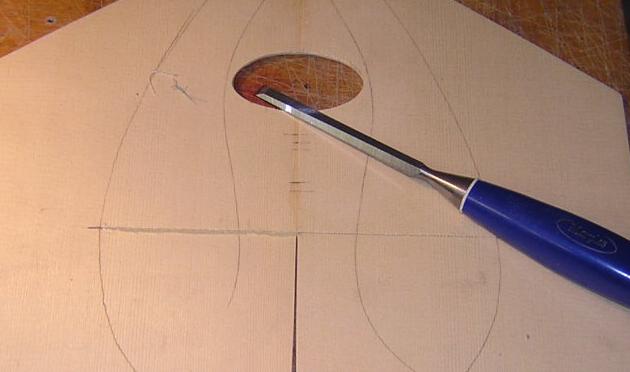 |
| Here the glued top can be seen after coming out of the clamps, the tail join segment clearly visible. Then I trial fit the card template .This is to calculate how much of a gap to leave in the bottom half of the top. | The next important job is to mark up the top's back... position of struts and sound hole. Here the position of the sound hole has been marked and two holes drilled to fit the fret saw. | I cut sound holes out with a fretsaw, inserted into one of the two holes, and always saw a little inside the line. It will be finished off later with a file and sandpaper. |
| Fitting scratchplate and soundhole surround | Bending the top | Fitting struts and gluing the tail |