| Fitting
scratchplate and soundhole surround
As I decided to re-use as much of the original instrument as possible, this meant extracting the scratchplate and sound hole surround, to re-fit. |
||
 |
 |
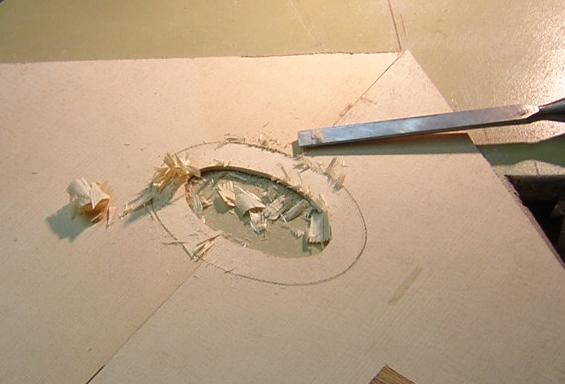 |
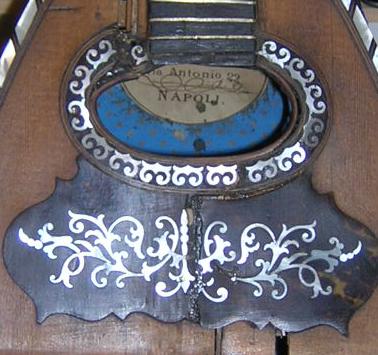
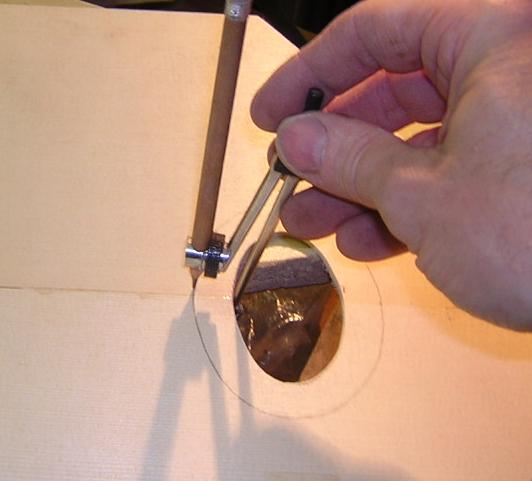
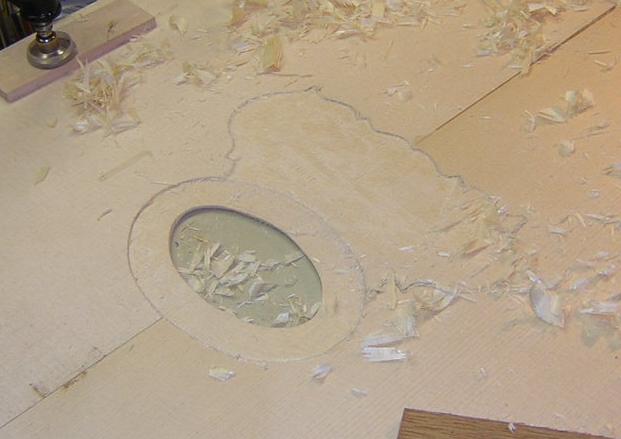
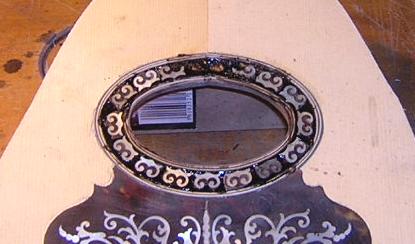
| Here is the original scratchplat, with all it's damage visible. | Having located the sound hole from the back, it was necessary to mark out the rebate on the top for the surround first, in order to locate the scratchplate rebate. | Here the sound hole inlay rebate is partly chiselled out. I guess I could have used a router, but they tend to have a mind of their own for these intricate jobs. |
 |
 |
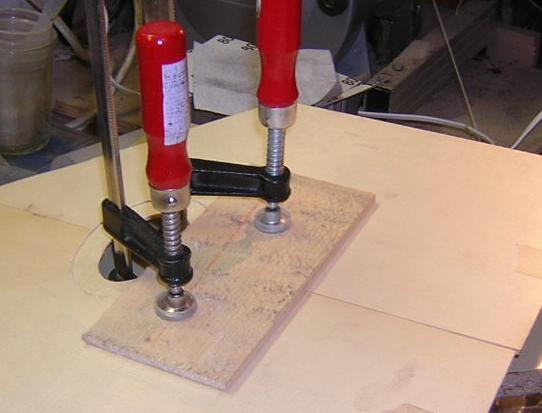 |
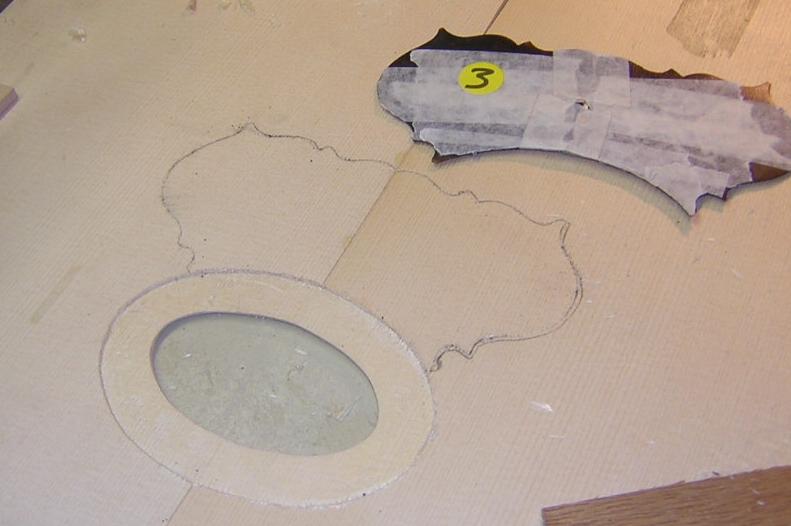
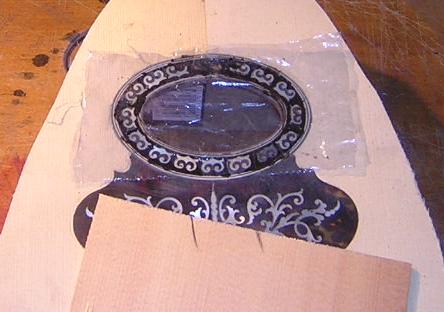
| Once the rebate is chiselled, it is easy to locate the scratchplate. | Rebate for the scratch in the process of chiselling. | Not visible beneath the caul, but this is the scratchplate being glued into place in the rebate. |
 |
 |
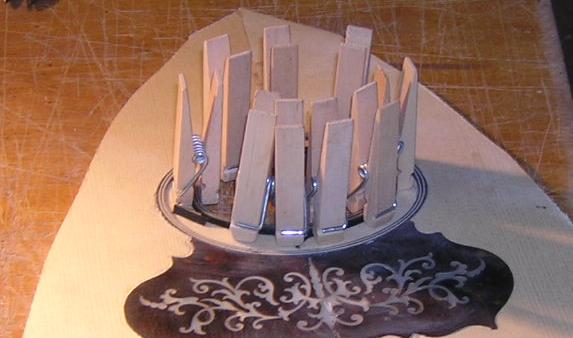 |
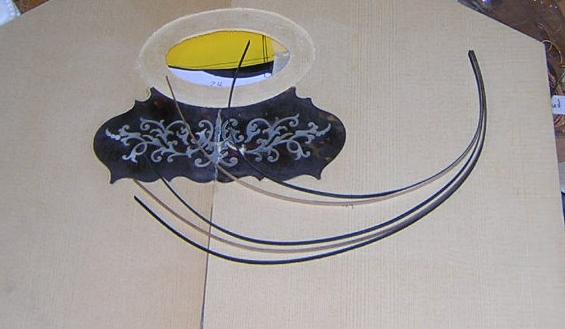
| In order to glue in the sound hole inlay, I needed to create the sides first. Unfortunately the BWB purfling does not react well to being bent so tightly, and it was necessary to re-glue and trial-fit after heat bending, before gluing in place. | Here it has been glued in, but trying to get an exact fit remotely as it were was not easy. Another time I think I will glue in each strand separately. | The inside section was easier, and was done a strand at a time, each layer after the first being held tightly in place by peg clamps. |
 |
 |
 |
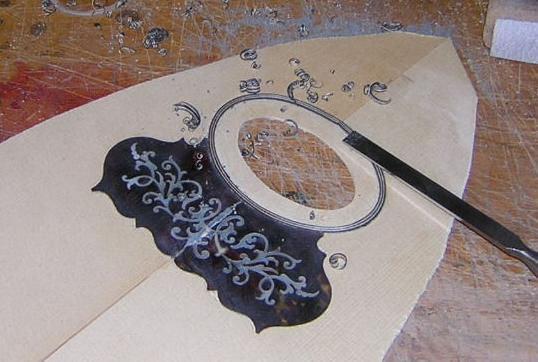
| At this point I decided I must chisel the purfling to just about desired height, or I would have no way to judge the depth of the MOP pieces later. | With the two sides in place, cut to almost the correct level, it was easy to lay out the recuperated pieces to be glued. | The glue is a mixture of cascamite glue and ebony dust, which allows time for the correct placement of the MOP pieces and sands well afterwards. Care must be taken here, that the tops of all the pieces are level. |
 |
 |
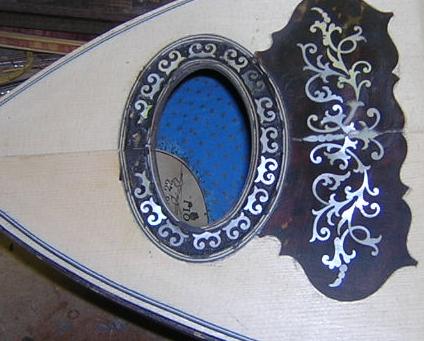 |
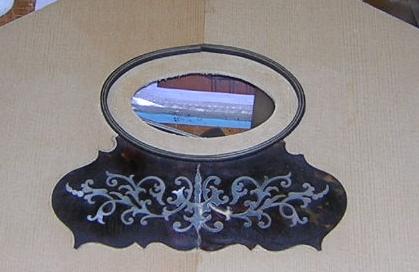
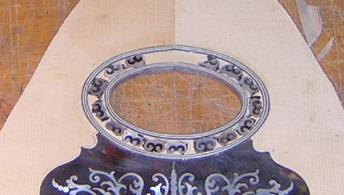
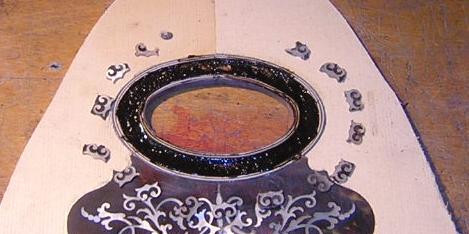
| After the first gluing, the pieces are all in place, but the surface is far from level yet. | A further application of the mix, a bit smoother and more liquid, fills the gaps, and I smoothed out through the plastic to reduce sanding later. | It is more or less complete here, bar the final sanding and polish... a fair approximation of the original. |