|
Which Way Do Tuners Fit? |
|
Which ever way the tuners are
arranged, (and I have found both, with only one set of screw holes,
suggesting they are original), it is important that the base string
posts turn anti-clockwise and the treble posts clockwise, (viewed from the
front on side tuners and the side for back tuners), so that the strings can go up the centre and out to the posts,
without interfering with the other string posts. |
 |
It
seems a simple question, though it is not always obvious, as there are a
variety of tuning systems, sizes and methods of installation. Initially it
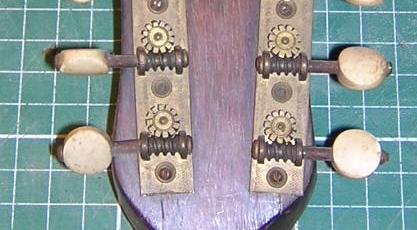
is useful to know there are traditionally two main types of system, side
tuners, (left) and back tuners (right).
|
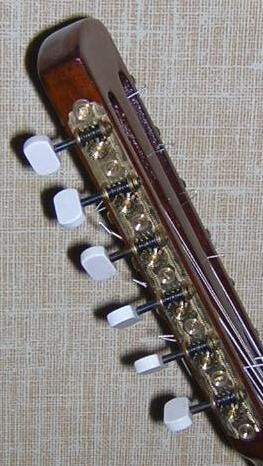 |
Generally, the small cog wheel is nearer the
instrument body than the tuning key.
The hand normally turns in an anti-clockwise direction when tuning,
whether they are side or back tuners.
|
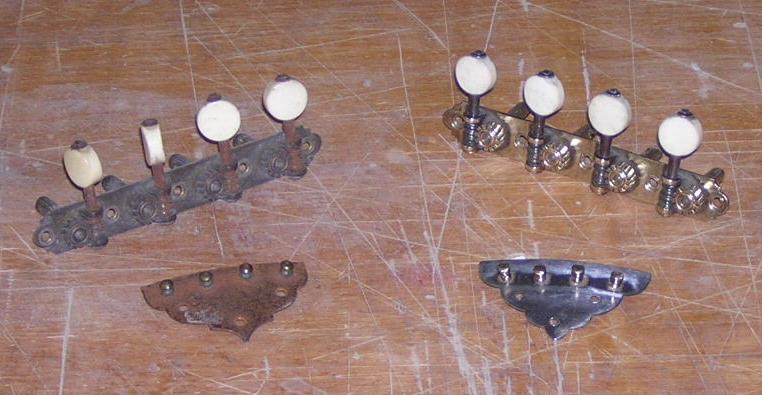
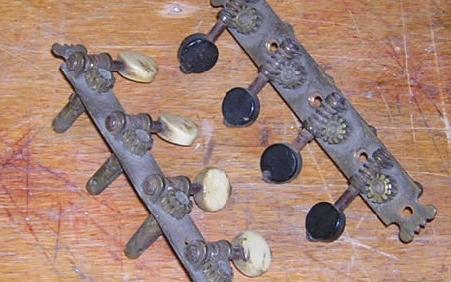
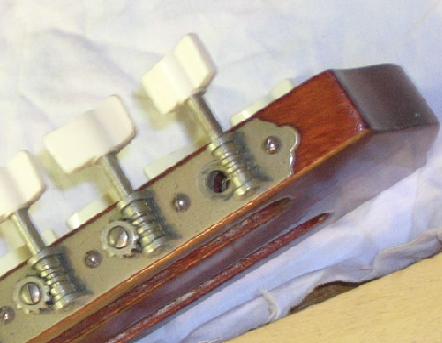
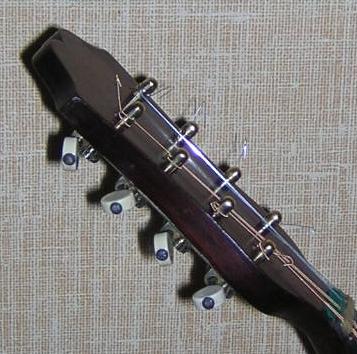
| Side Tuners |
| Side tuners,
unfortunately, can have either
left-hand or right-hand threads. Below are examples of both. It may have
been that originally the right hand threaded tuners were for left-handed
players, but I have found them on numerous right-hand strung instruments,
with only one set of holes.. |
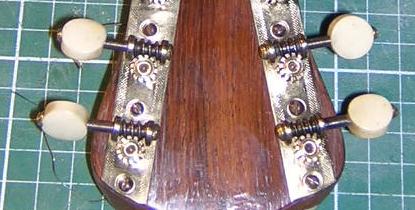 |
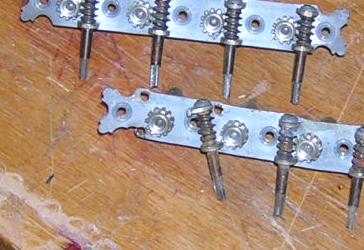
The thread on the
shaft angles left. A clockwise motion of the hand turns the string post
anti-clockwise when viewed from the front. |
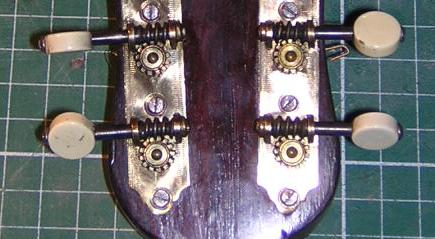 |
The thread on the shaft angles
right. An anti-clockwise motion of the hand turns the string post the same
way. More awkward! |
|
 |
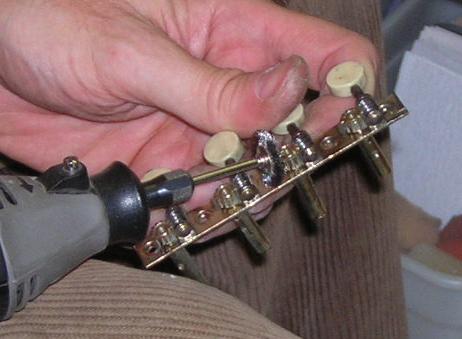
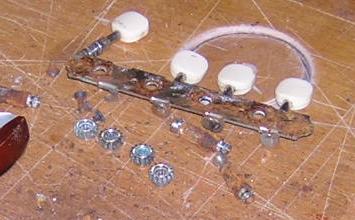
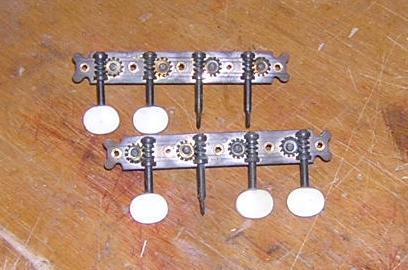
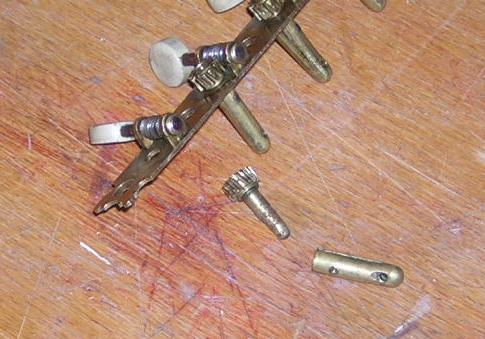
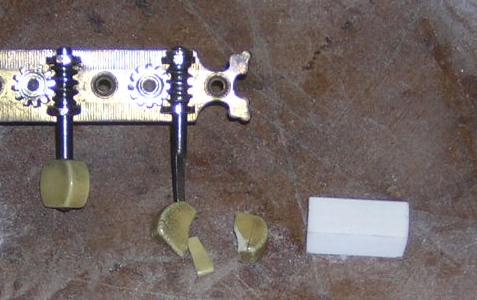
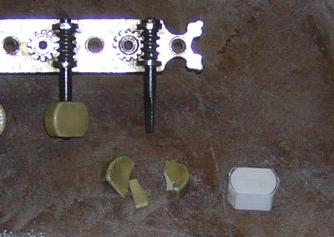
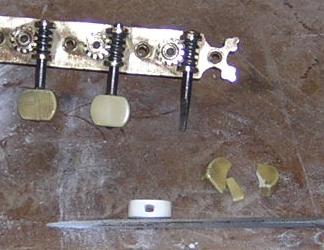
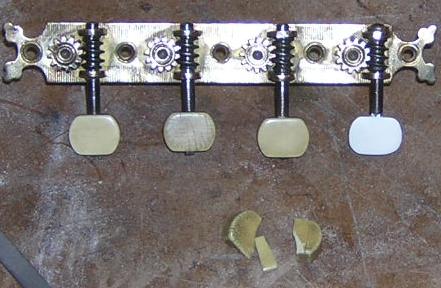
Here is a set of left thread
tuners, that would appear to be on upside down, but they are definitely
original... |
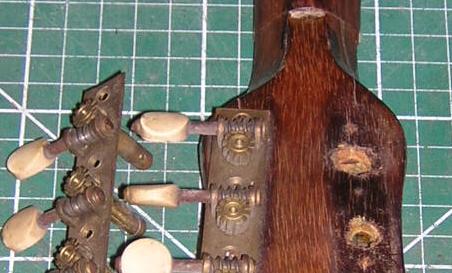 |
and taking one side off demonstrates that they would not fit the
other way round. What is more they worked fine. This bowl back is un-named, but I had a Corradotti similarly
arranged. |