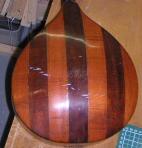
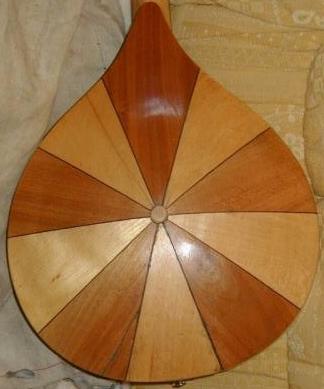
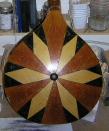
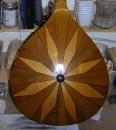
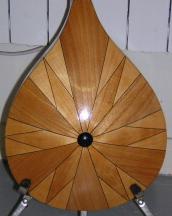
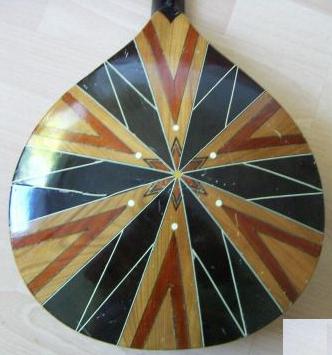
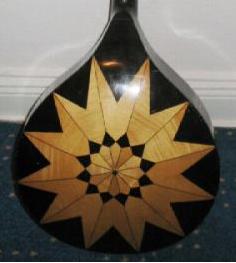
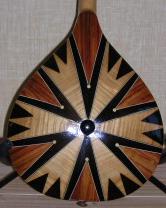
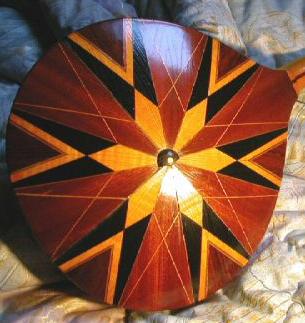
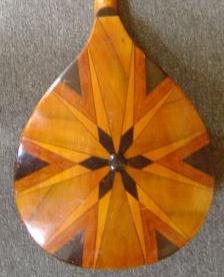
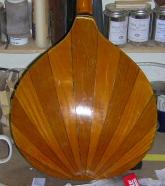
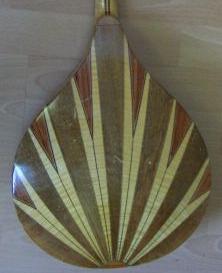
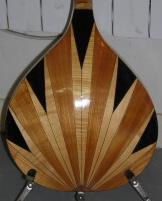
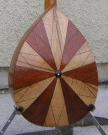
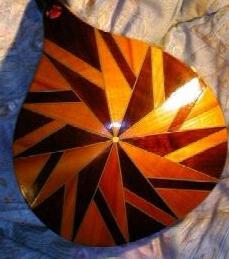
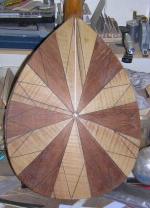
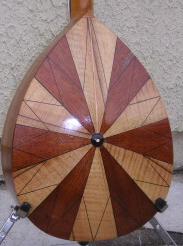
| Some of the different and beautiful, multi-pieced, dome-backed mandolins built in Germany....... | |||||
 |
 |
 |
 |
 |
 |
 |
 |
 |
 |
 |
 |
 |
 |
 |
 |
 |
 |
| Home | Hospital | Mandolin Dome Repairs | Backs |
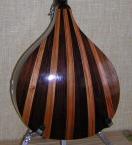
| Some of the different and beautiful, multi-pieced, dome-backed mandolins built in Germany....... | |||||
|
|
|
|
|
|
|
|
|
|
|
|
|
|
|
|
|
|
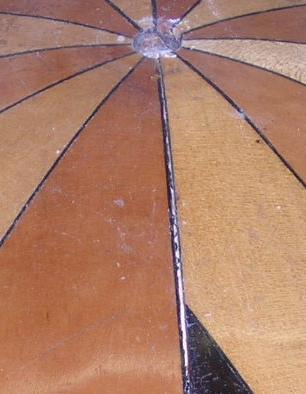
| Problems with multi-pieced
backs
There is often a splitting along the glue lines of backs built of several pieces, mostly because of shrinkage. If the split is not wide, they may just need re-gluing, but if the seam splits are extensive, or there is significant shrinkage, there may need to be inserts. All this is of course complicated by the domed nature of the back. |
|||
| Some Examples | |||
|
|
|
|
|
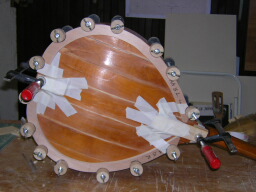
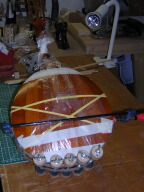
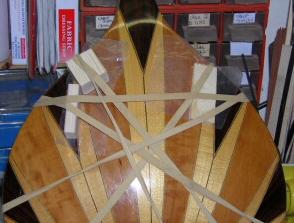
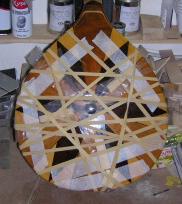
| This instrument was a classic example of a simple 7 piece back whose joins had given way, and included a very messy old repair along the line of one of the splits. | Once disassembled, it had to be cleaned up, before re-gluing could begin. |
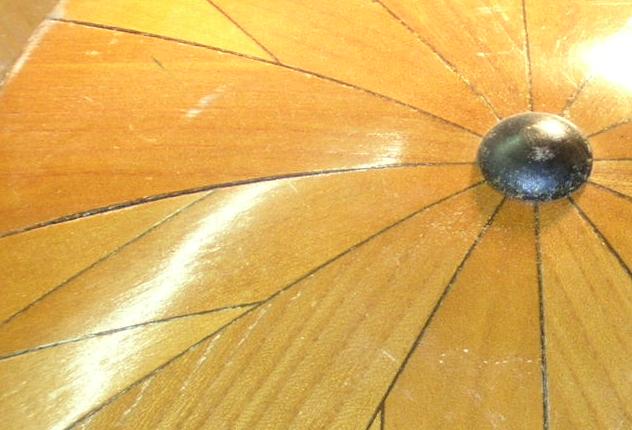
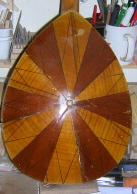
This is one of the beautiful old German marquetry-backed instruments, whose back is constructed of often upwards of 20 pieces of wood. |
Inserting the glue into the seams is easy, but setting up the new joins under pressure so that they stay level, is often a marvel of ingenuity and tape. Clamps, tape, elastic bands, wedges and patience are essential. |
|
Some solutions |
|||
The solutions to split dome-backs
depend basically on 3 different factors;
|
Solutions vary;
|
||
|
Tools/jigs needed |
|||
| Cauls to apply even pressure along the length of the sides when re-gluing. | Long clamps to keep sides where you want them when re-gluing. | Violin clamps, in this case made from and old broom handle and studding. | A lot of thick elastic bands of different sizes, and of course masking tape. |
 |
 |
 |
 |
| Glue | |||
| I am often asked
what glue should be used to repair these problems. The traditional
answer of course is hide glue, or something similar, that is completely
reversible. Unfortunately, the main property of hide glue, being a hot
glue, is that it goes off very quickly. I find myself often forced to
use other modern glues in many of these repair scenarios, because of the
difficulty of clamping multiple seams up under pressure correctly before
the hide glue goes off. I tend to use Titebond, which allows you time to clamp things up so that the repair stays in the desired place or shape. It is often impossible to do this with hide glue. I do NOT use white wood glue (PVA) for this sort of repair. It is not strong enough to hold the often thin edges you want to glue. Neither is epoxy resin suitable; it's too difficult to control. The advantage of Titebond (or similar) is that it holds well, does not flex, it is water based and excess wipes off easily, and it gives you 10-15 minutes to set everything up. There are various types of Titebond including an equivalent to hide glue in a dispanser. |
|||
|
Repairing narrow seam cracks |
|||
| It is usually fairly evident whether you will be able to repair a seam split, by just inserting glue. If you press the two sides of the crack together, they should close easily. | |||
|
|
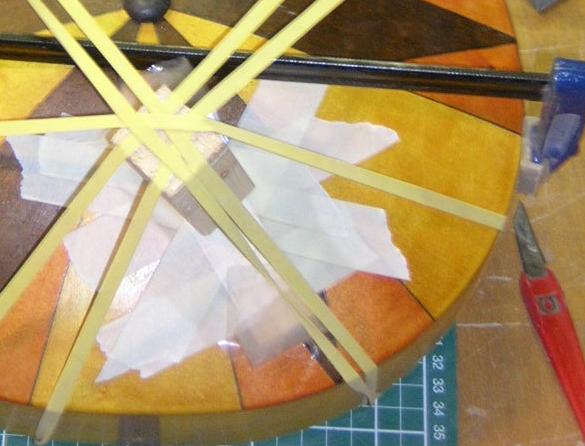
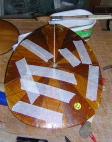
These examples show fine seam splits being
re-glued. Often a piece of masking tape pulled tightly across is enough
to hold them closed, but I often use elastic bands as well. I insert a
small caul/block to keep both sides of the crack level.
Right is a back with several cracks under repair at once. Tape, elastic and cauls can be seen. |
 |
 |
 |
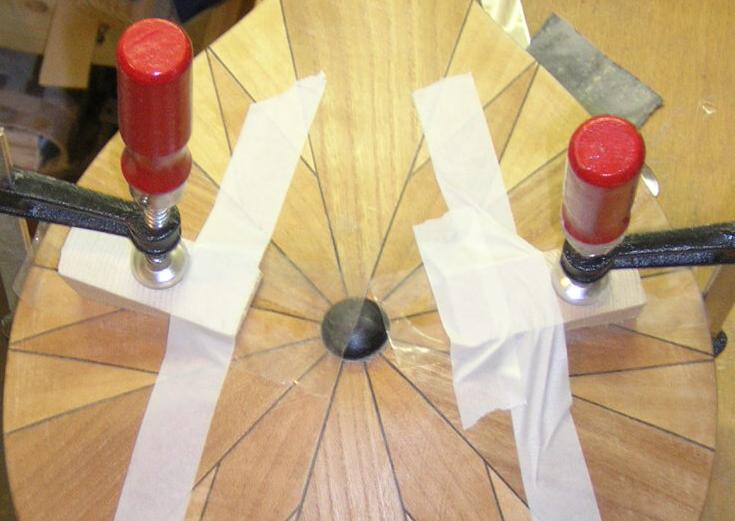
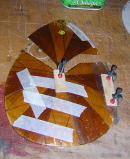
Domes also have a tendency to bow, often more on one side of the cracked seam than the other. In these examples, a clamp is used together with a wedge caul to keep the two clamped surfaces level. | The crack is glued and taped tight. Then the triangular caul is taped in place to prevent slipping on the curved surface. With a lower caul beneath, the clamp is carefully tightened until the required position is achieved. | 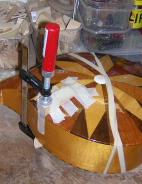 |
|
Repairing wide seam cracks |
|||
| It is equally fairly
evident when you will not be able to repair a seam split, by just
inserting glue. If it requires some strength to press the two sides of
the crack together, they will likely not stay closed after gluing. This
is especially evident when the seam is split, but the join to the
instrument side is still good. The crack is a result of shrinkage, and
if you can could close it, then the back would likely be too small.
The only way to deal with this level of damage, is to insert another piece in to the back. If the crack is narrow enough, you will get away with an extra length of stringing (usually ebony or rosewood); if it is wider, then it may be necessary to insert more back wood as well (usually maple, but also fruitwood). |
|||
 |
 |
 |
 |
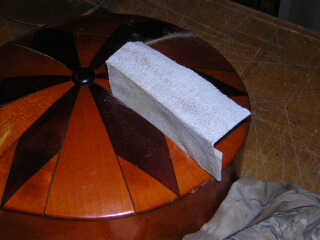
| This kind of crack is just too wide to close. | First clean out the inner edges with a doubled over piece of sandpaper. Next cut stringing to match, to the length of the split. | Sand down to a taper where the crack runs out, so that it fits well and tightly. Work in glue and then the sliver of stringing. Hold in place with tape/elastic if necessary. | Once dried, it is possible there may be some small gaps. These can be filled with an ebony (or rosewood) paste. |
|
Rebuilding dome backs |
|||
| You will know when you are faced with rebuilding a back.... multiple separations, including from the sides, shrinkage, often damage to the pieces from old repairs, and nothing wants to stay together, never mind fit well. In such cases it is easier to remove everything carefully and rebuild from scratch, re-enforcing beneath. | |||
 |
 |
 |
 |
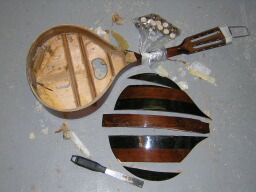
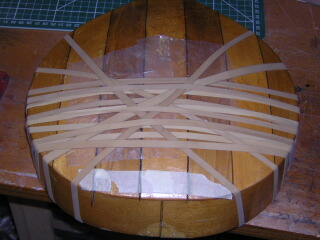
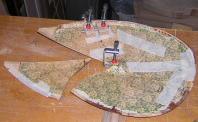
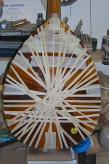
| This mandolin arrived with multiple seam splits, which were just too wide to glue, and would not push together, even though most of the edges were sound. | When removed, the back was in about 5 pieces, with damage within some of the pieces. Also, the central hole was broken open and had lost its button. The small clamps and cauls were an attempt to keep joins level at the edges where the wood was warped. | Unfortunately, the final 2 elements just would not fit. When forced, one of the other seams opened up again, and I just could not get the sections around the button hole to meet. | Here I am re-gluing, having cut
vertically into the top part of the back for an insert.
I used a large clamp rig to try and maintain the correct curvature of the back whilst I glued the remaining pieces together. |
 |
 |
 |
 |
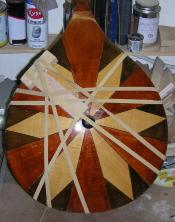
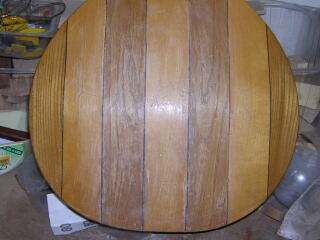
| Here the maple insert is in place, its size and shape determined by the size I needed to fit the back correctly to the body again. | I taped this one in place after applying glue, to ensure a good fit. I then applied pressure with multiple elastic bands. It is difficult to spread the pressure of clamps evenly across the whole surface, and tightening them often skews the fit. | Almost finished, after removal of the clutter and a good sanding, the back is ready for the varnish. Before varnishing, I tinted the insert until a little darker than the surrounding maple pieces. | Once varnished, the surrounding maple darkens a little with the varnish, and the insert is hardly noticeable. |